# Configuration du scan Cloud : GCP
{% hint style="warning" %}
Prérequis :
* Un compte administrateur est requis pour effectuer ce déploiement.
* Un conseiller technique est requis pour la supervision continue et la remédiation des vulnérabilités.
{% endhint %}
{% stepper %}
{% step %}
### Sélectionnez Google Cloud Platform
Accédez à `Analyse cloud` > `Paramètres`, cliquez sur `Nouveau fournisseur`, et sélectionnez `Google Cloud Platform`.
{% endstep %}
{% step %}
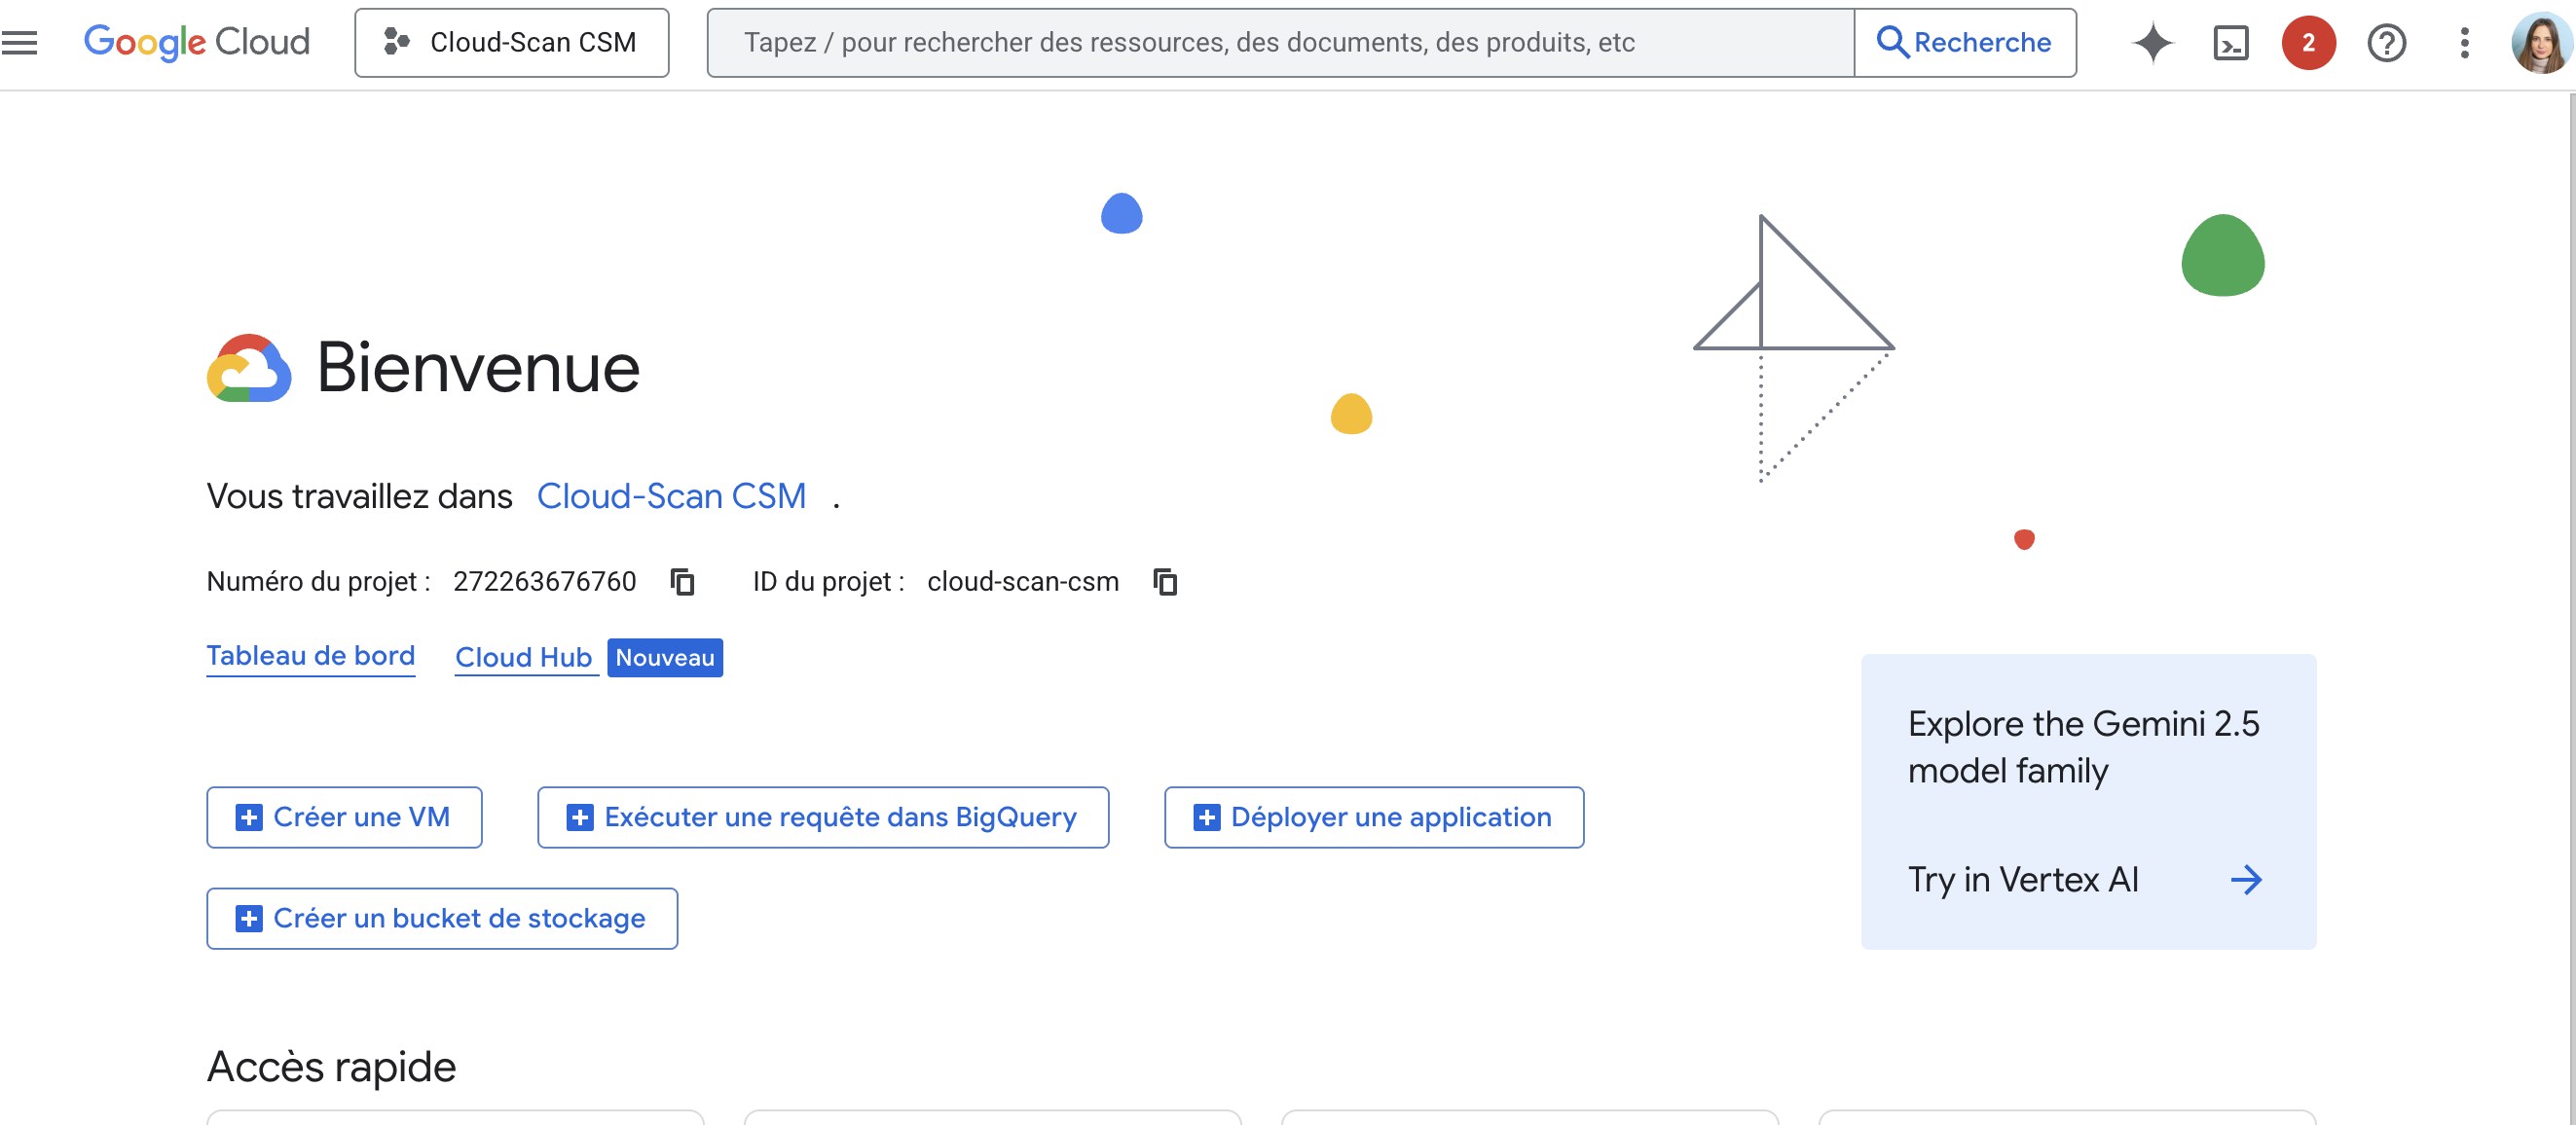
### Accédez à votre console Cloud
Accédez au [Console Google Cloud](https://console.cloud.google.com/) et connectez-vous avec votre compte administrateur.
{% endstep %}
{% step %}
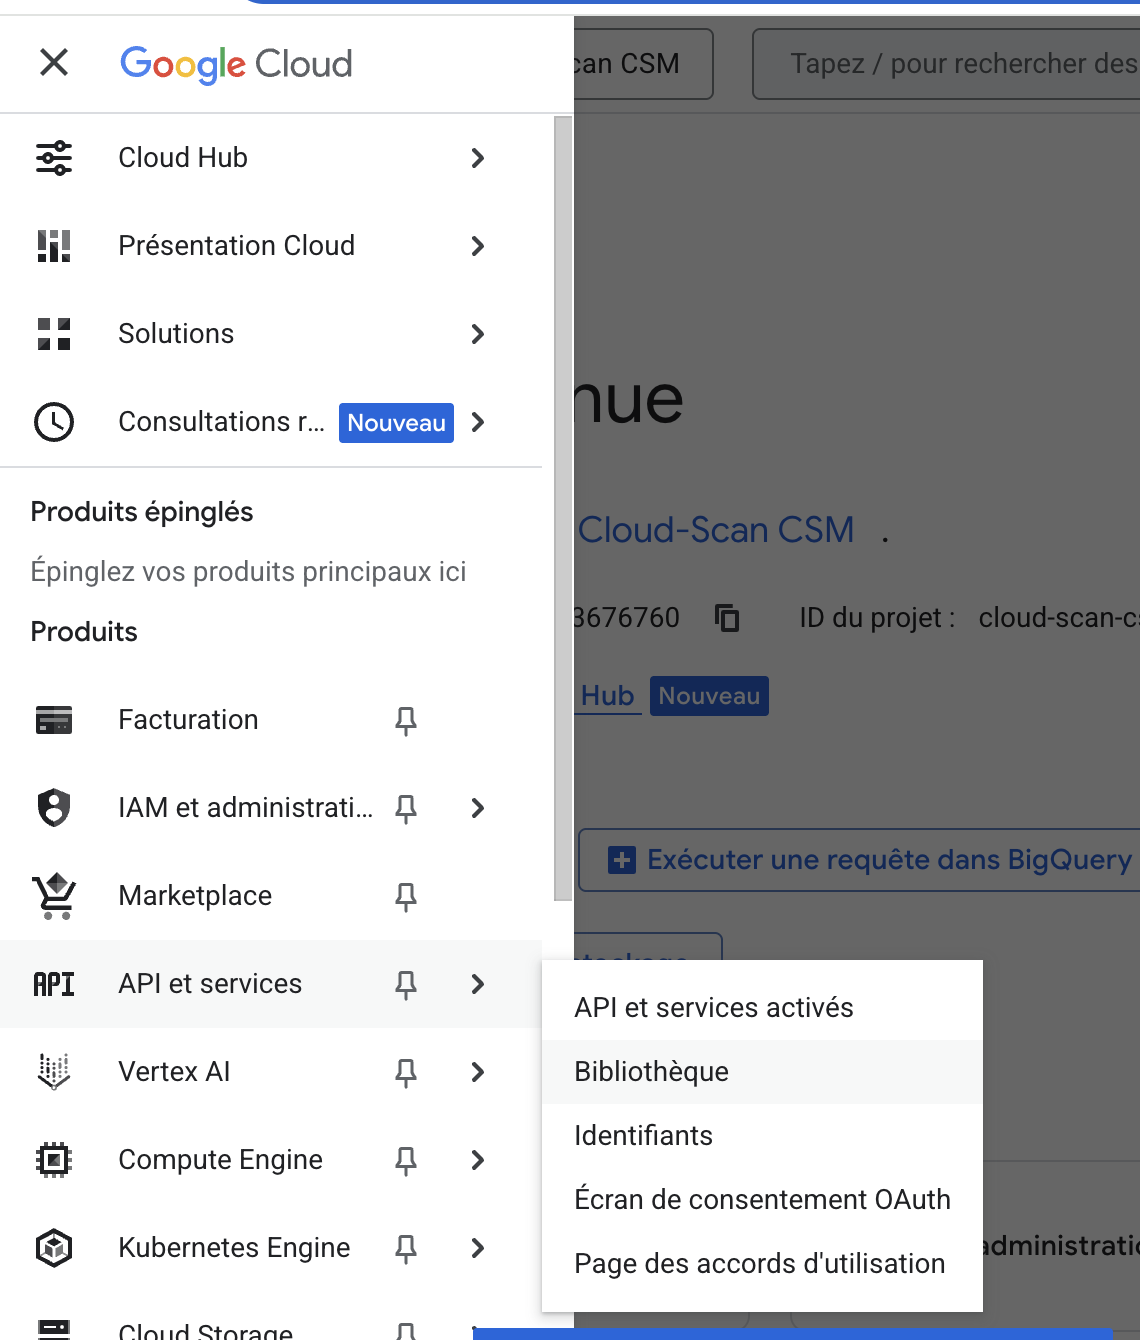
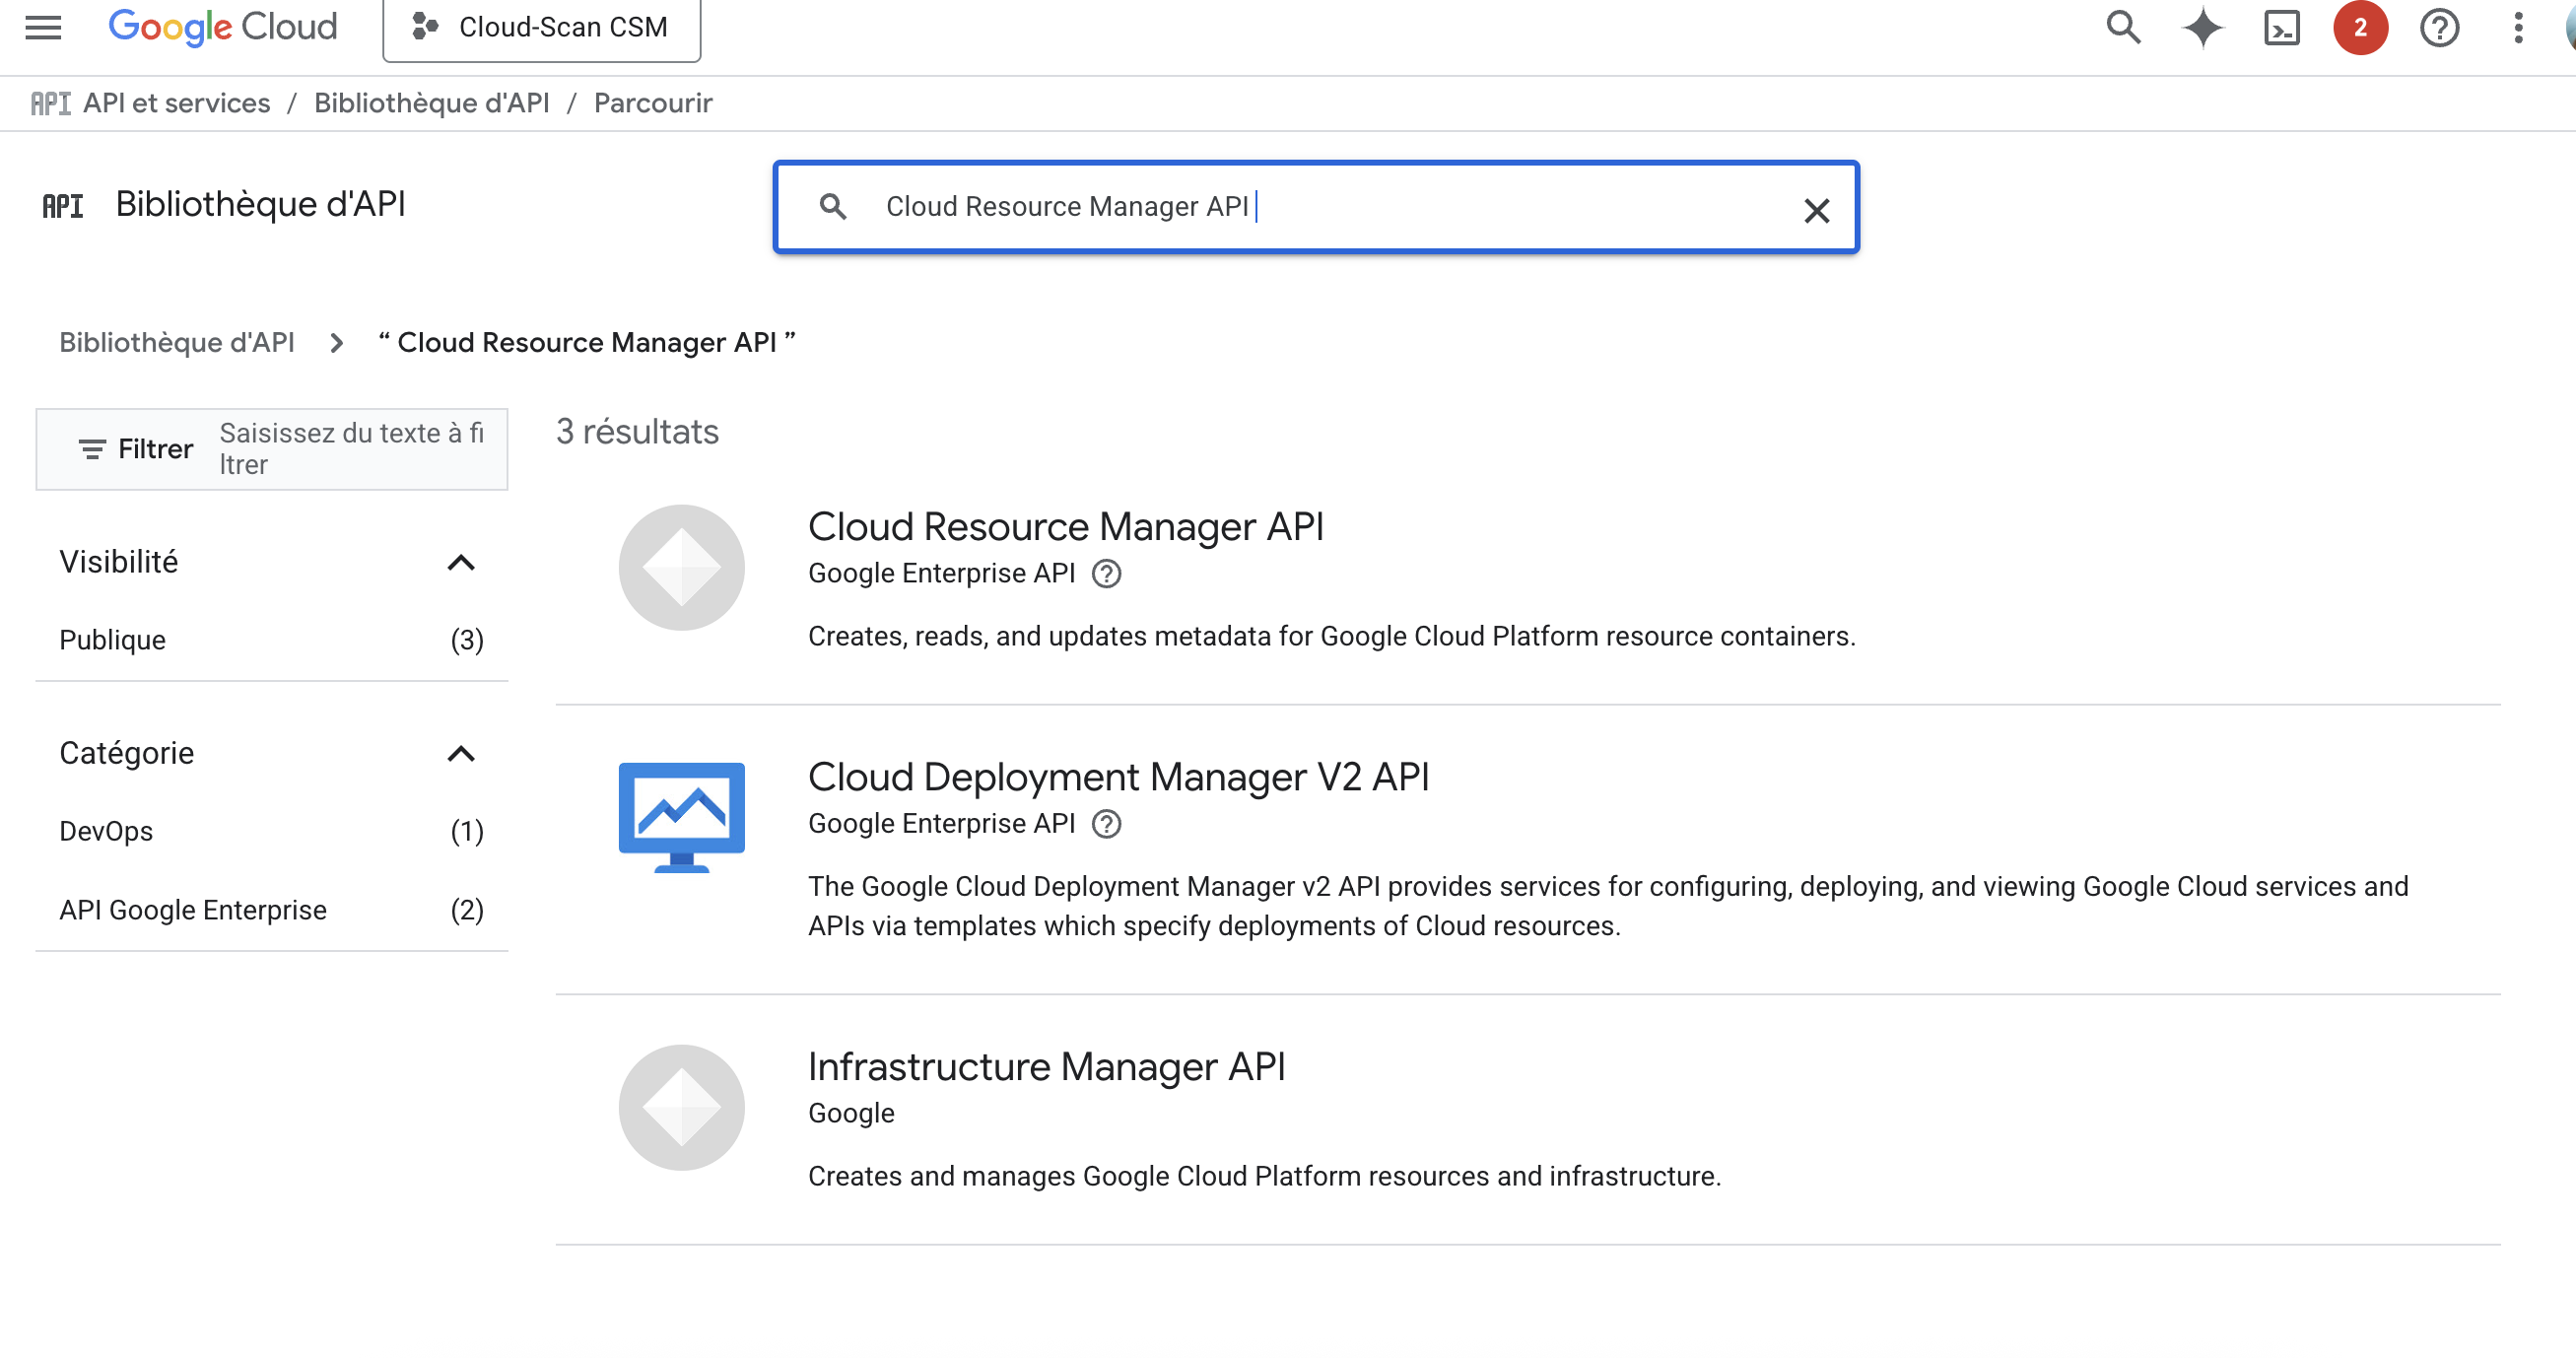
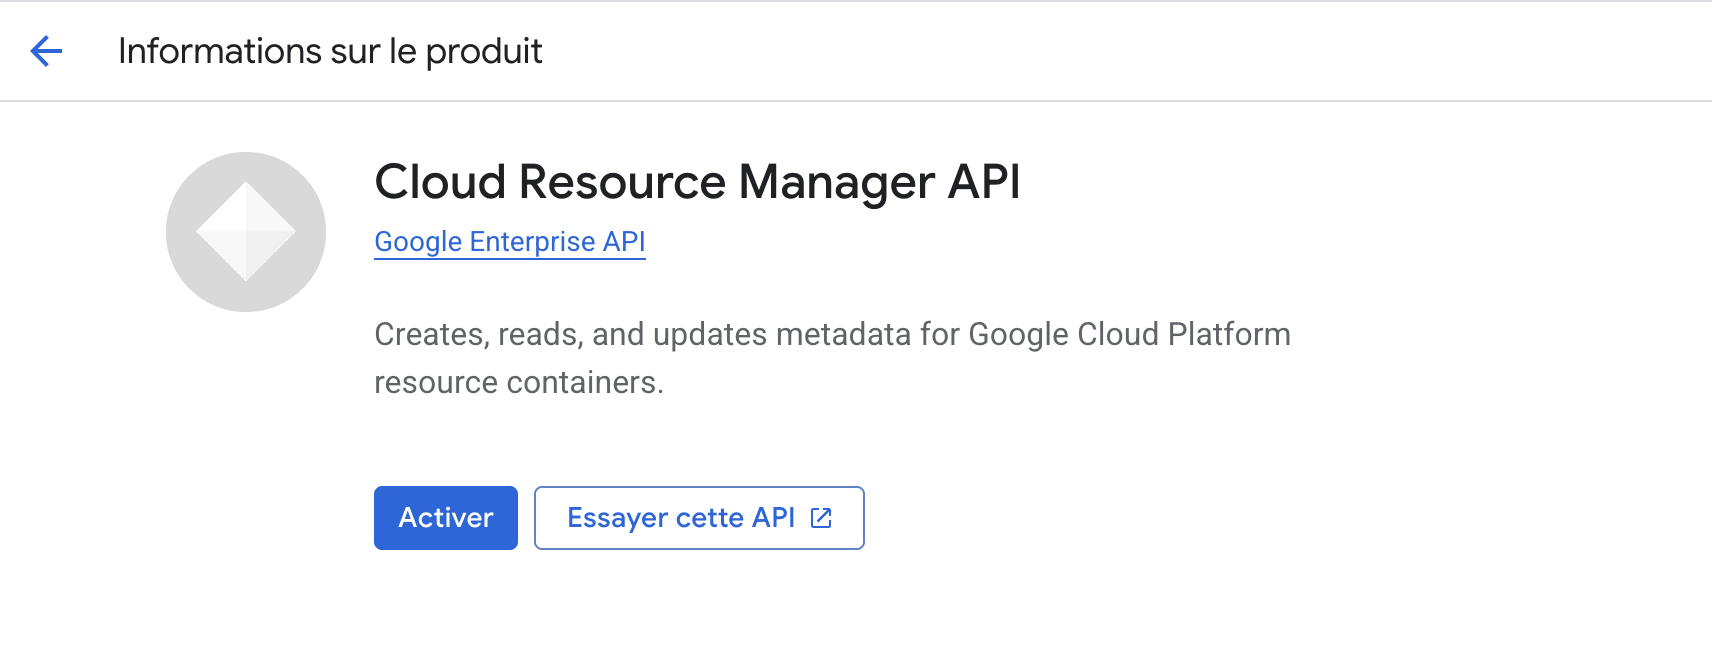
### Activez l’API Cloud Resource Manager
1. Accédez à `API et services` > `Bibliothèque` dans le menu de gauche.
2. Recherchez `API Cloud Resource Manager` et cliquez dessus.
3. Cliquez sur `Activez`.
{% endstep %}
{% step %}
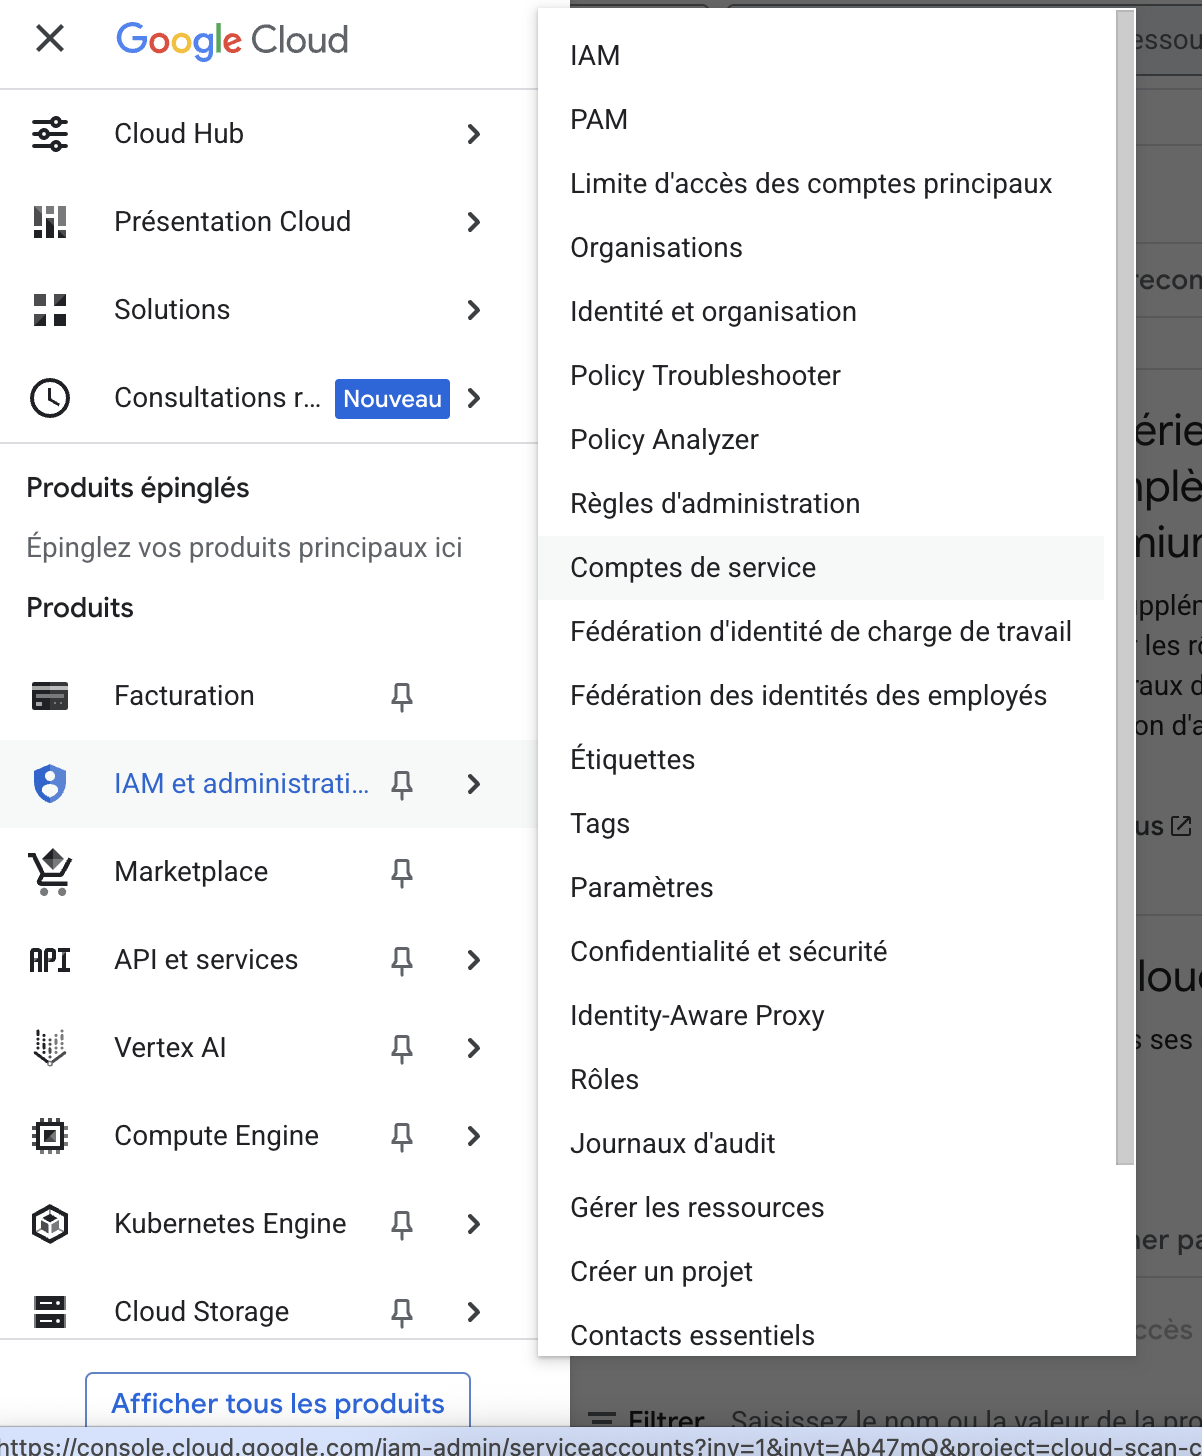
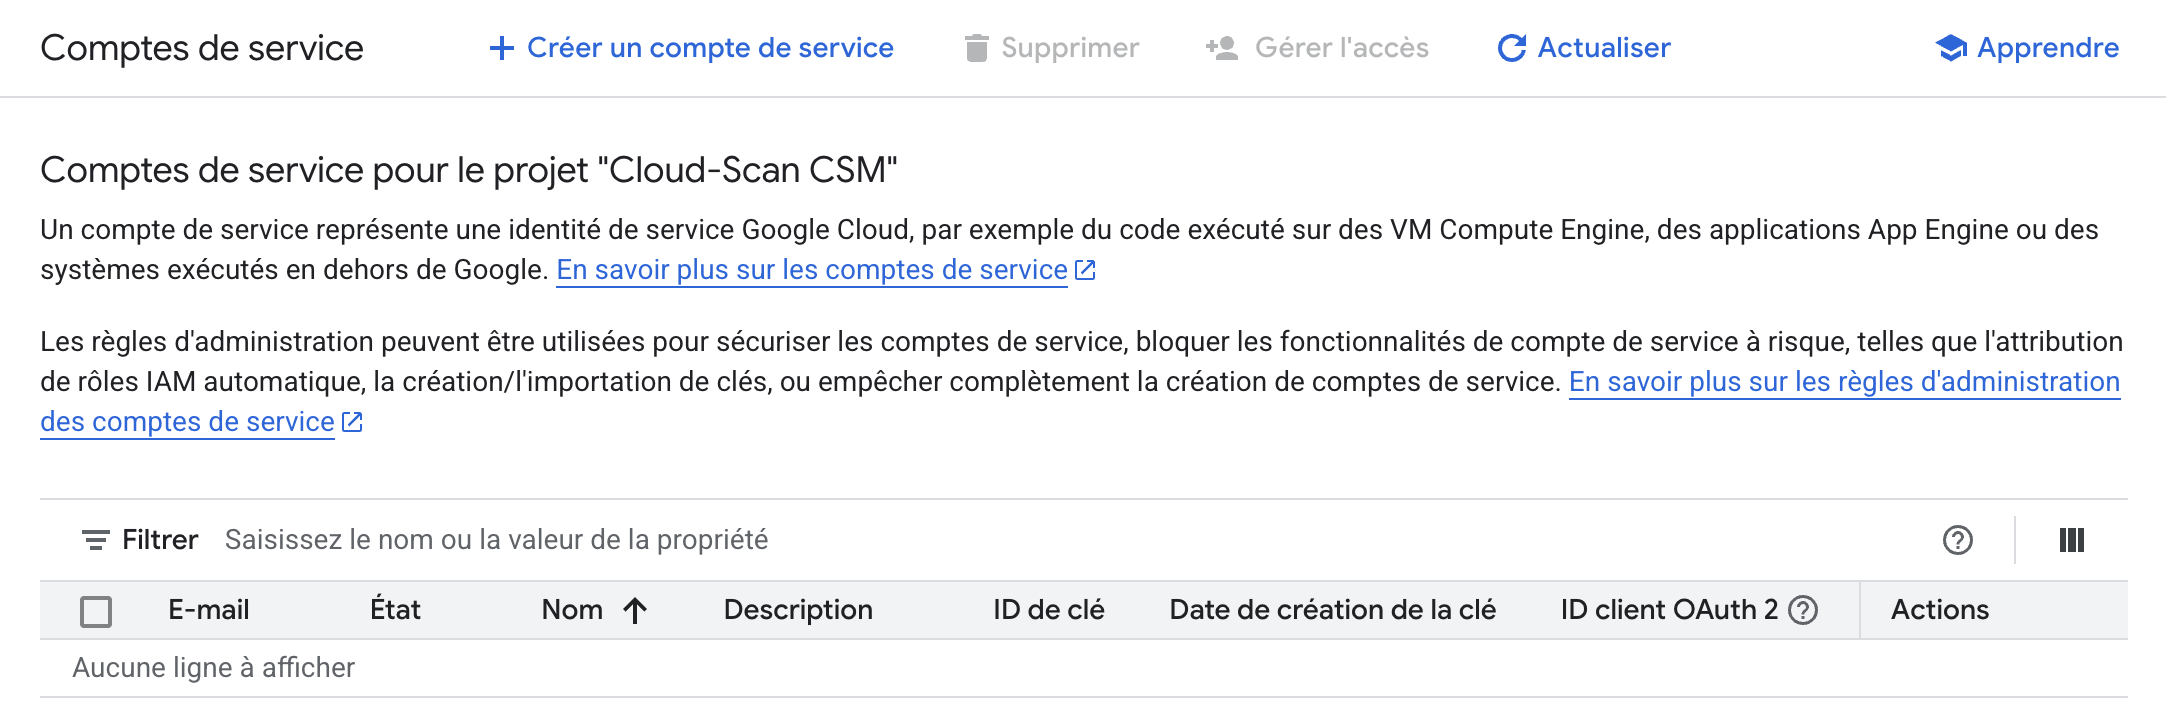
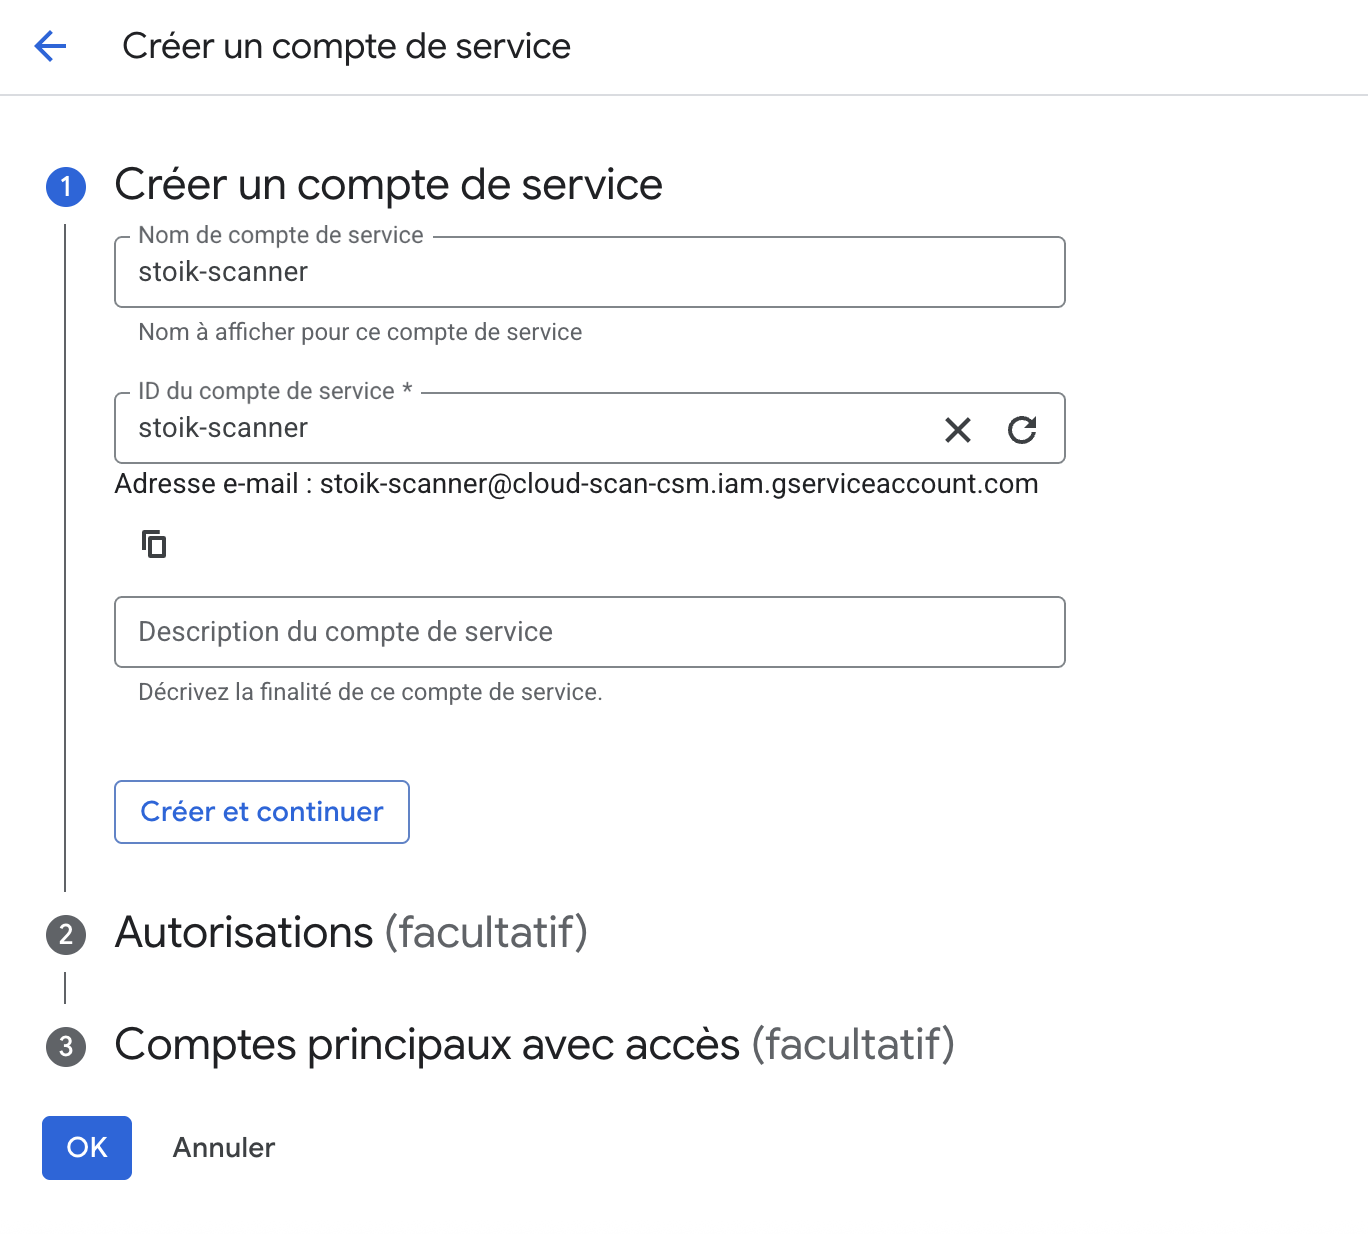
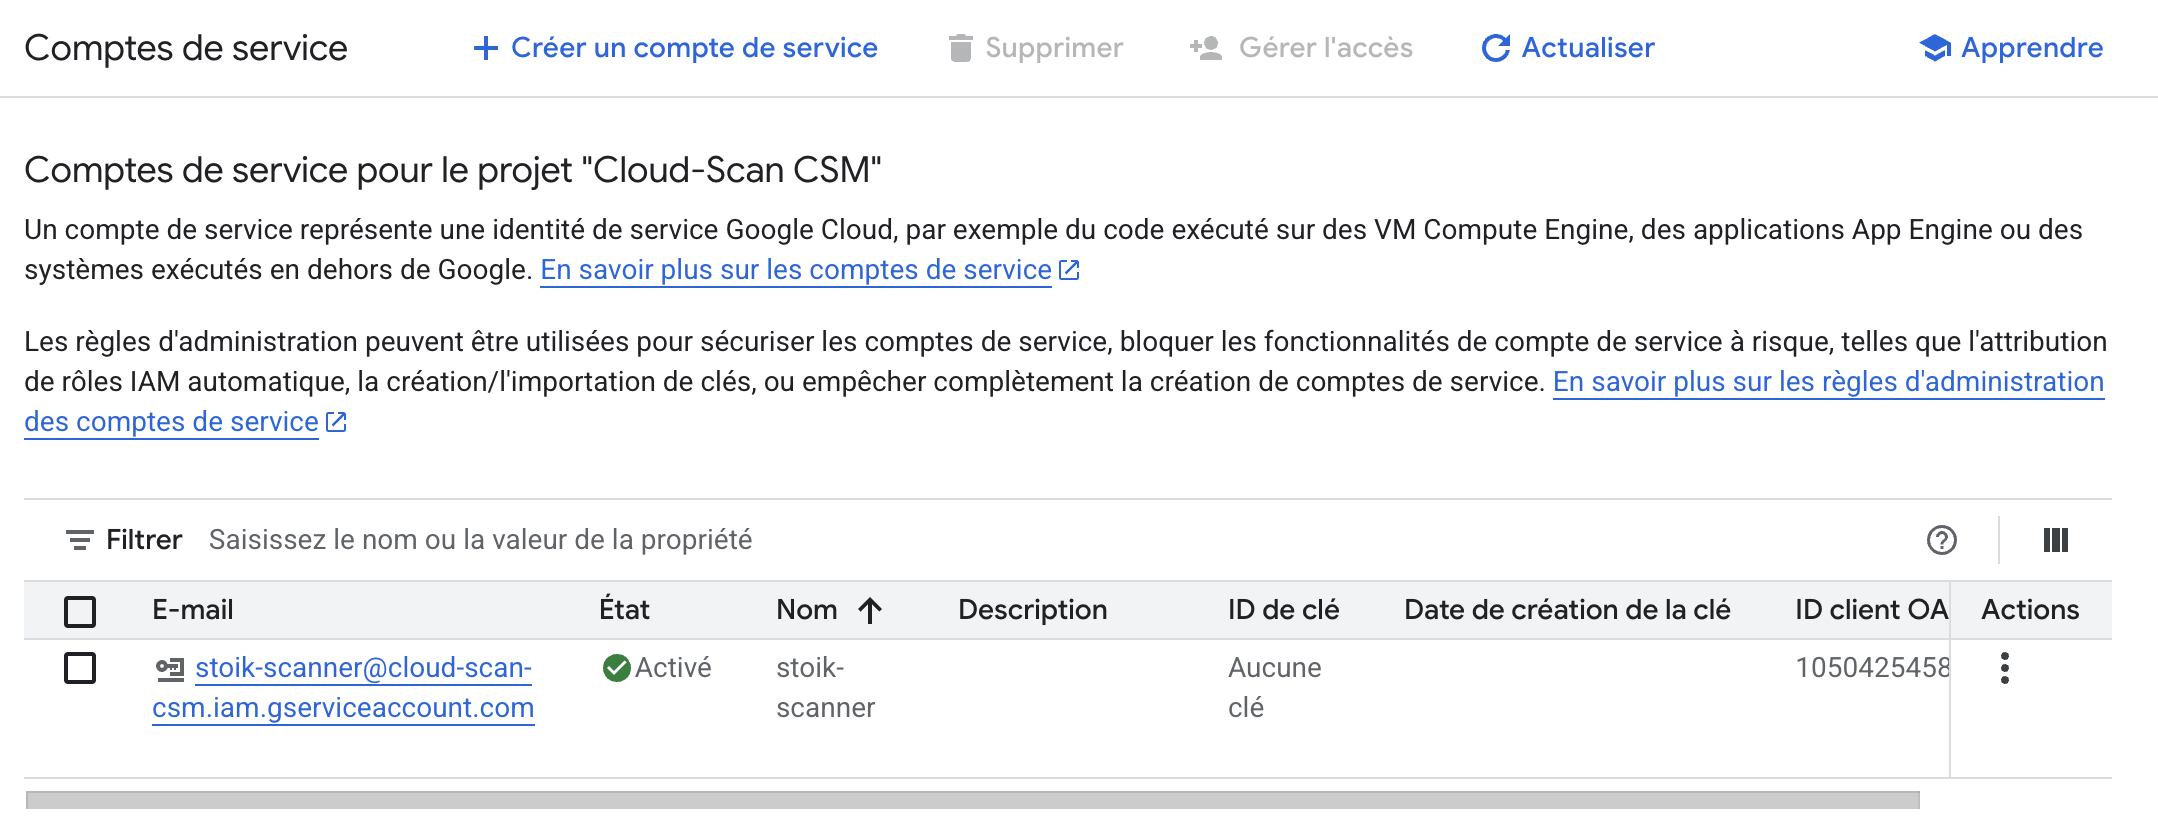
### Créez un compte de service
#### Créez le compte
1. Accédez à `IAM et administration` > `Comptes de service` dans le menu de gauche.
2. Cliquez sur `Créer un compte de service`.
3. Entrez `stoik-scanner` comme nom du compte de service, puis cliquez sur `Créer et continuer`.
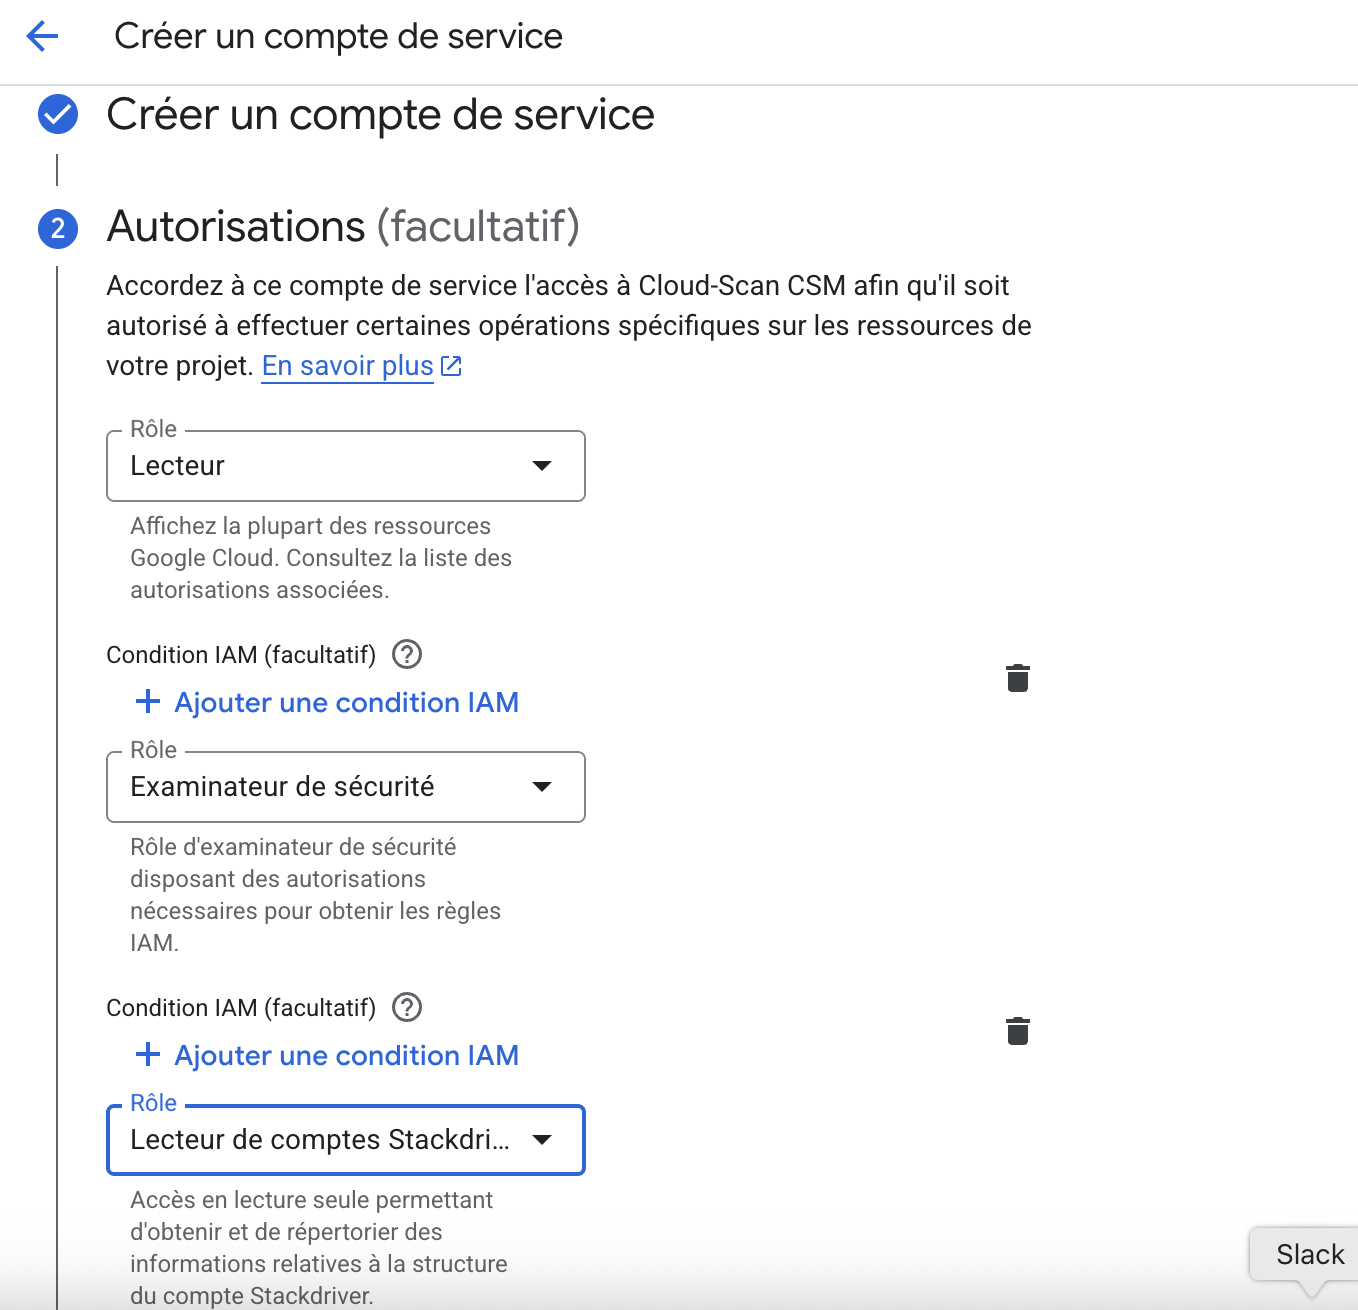
#### Attribuer des rôles
1. Ajoutez les 3 rôles suivants : `Lecteur`, `Relecteur de sécurité`, `Visionneuse de compte Stackdriver`.
2. Laissez l’étape 3 vide et cliquez sur `Terminé`.
{% endstep %}
{% step %}
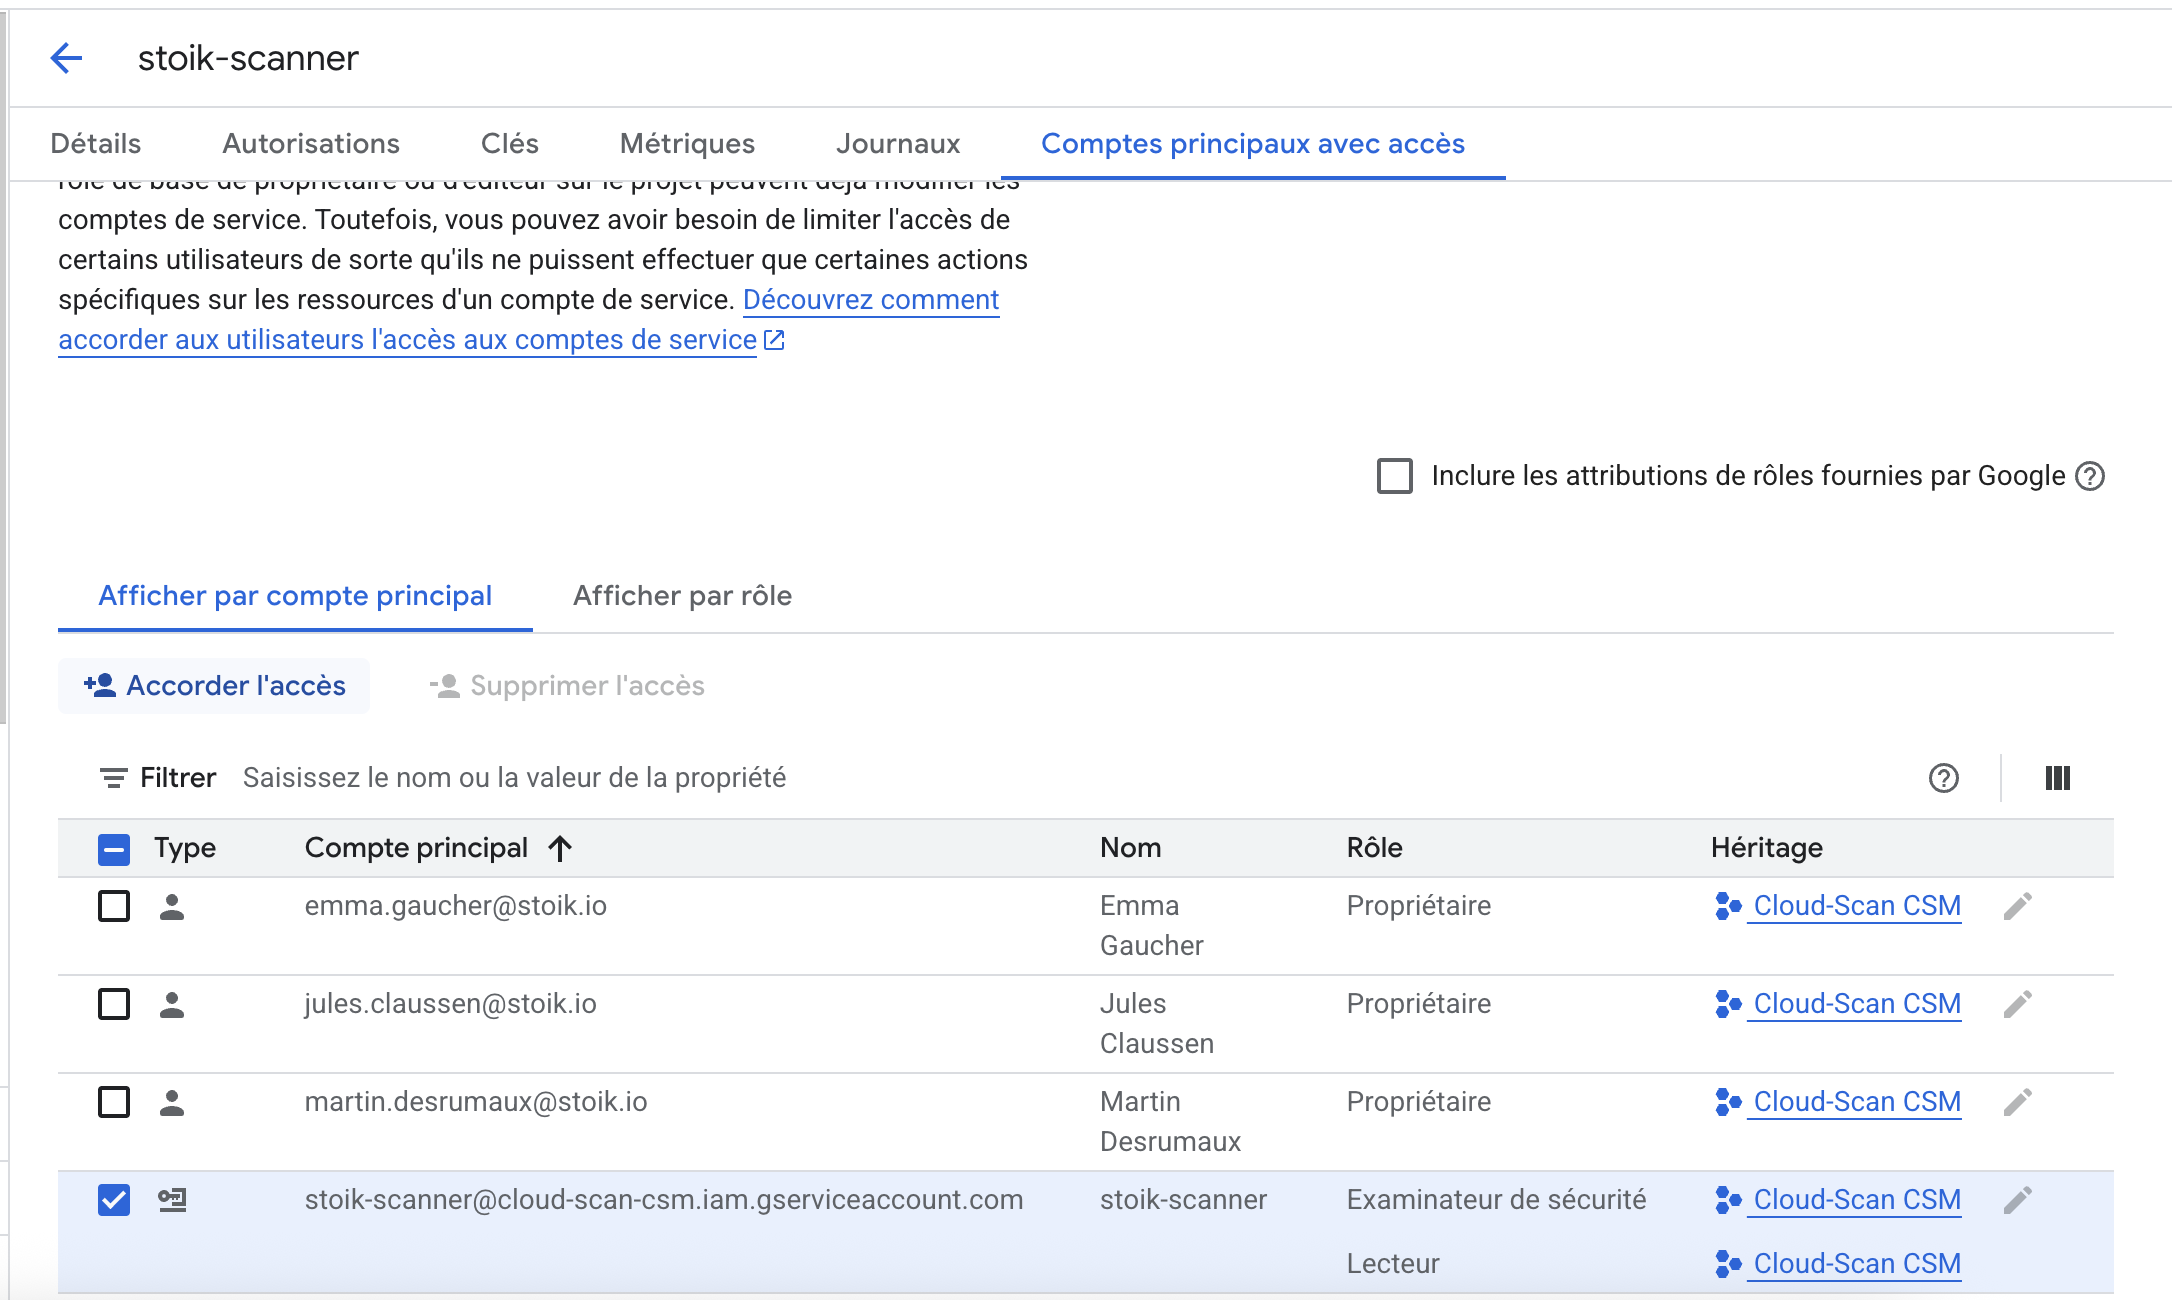
### Autorisez le compte de service
#### Ouvrez le compte de service
1. Cliquez sur le compte de service que vous venez de créer, puis cliquez sur `Principaux ayant accès`.
#### Accorder l'accès
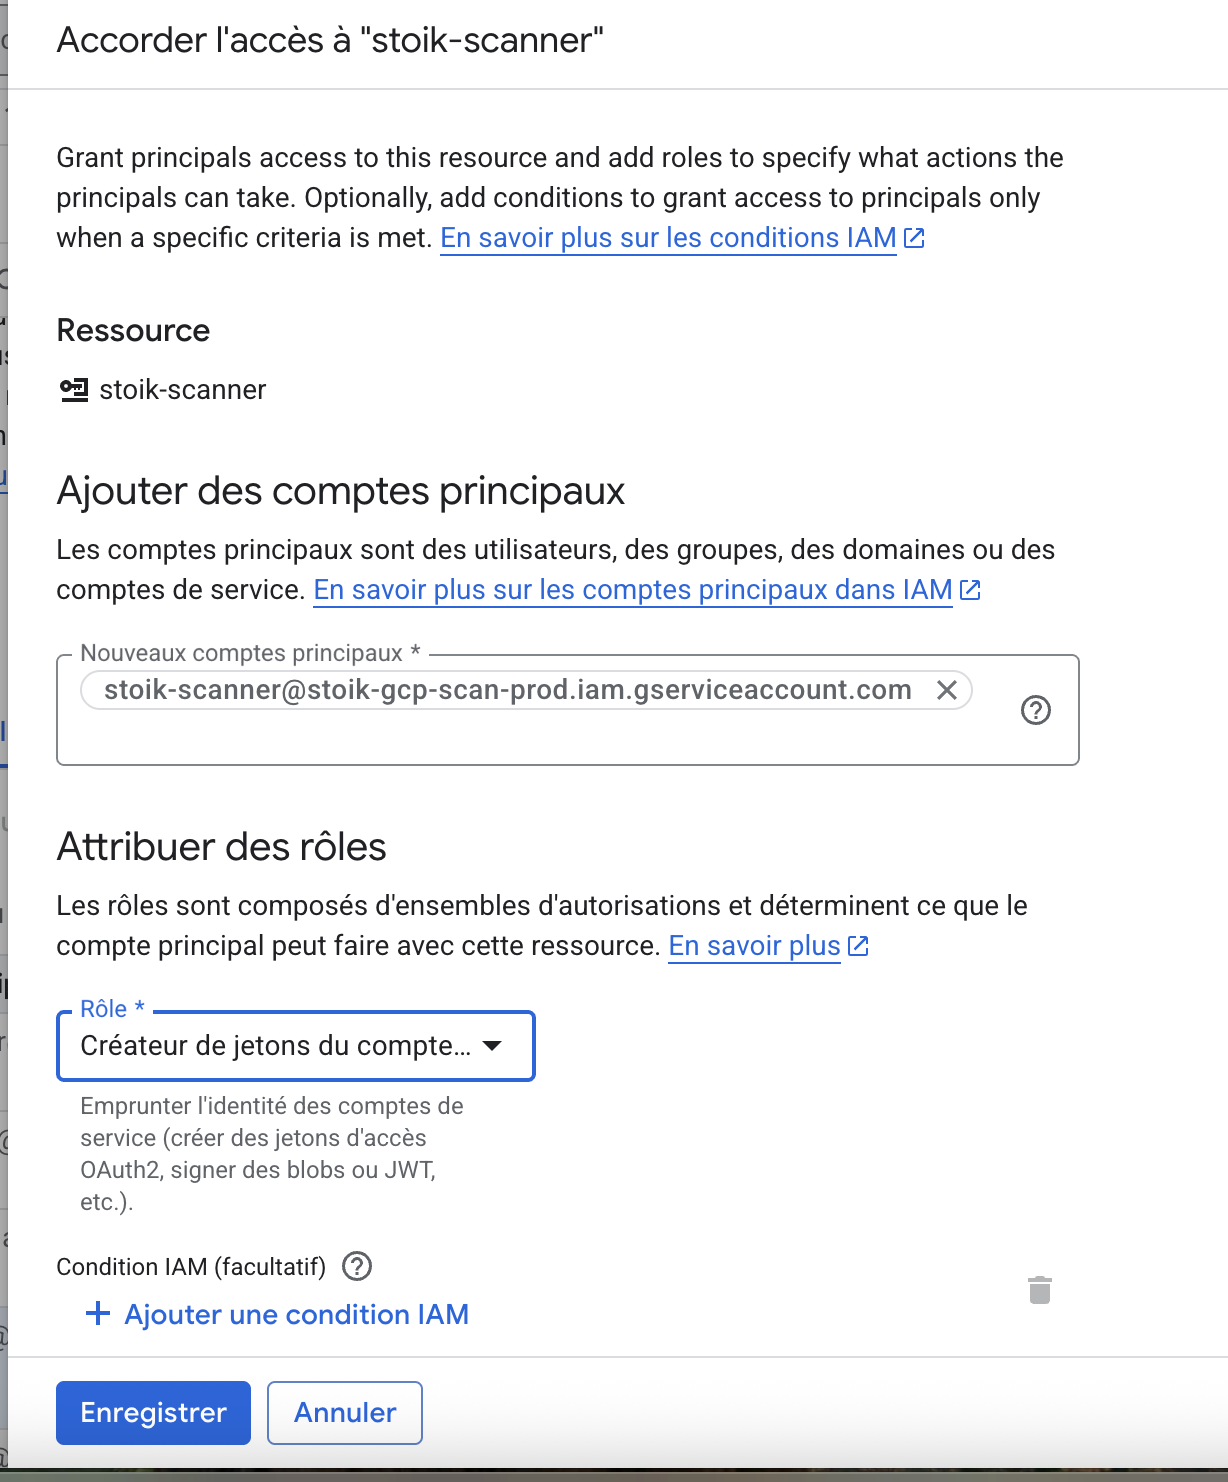
1. Sélectionnez votre compte de service et cliquez sur `Accorder l'accès`.
2. Entrez `stoik-scanner@stoik-gcp-scan-prod.iam.gserviceaccount.com` dans la section `Nouveaux principaux` champ.
3. Attribuez le `Créateur de jetons de compte de service` rôle, puis cliquez sur `Enregistrer`.
{% endstep %}
{% step %}
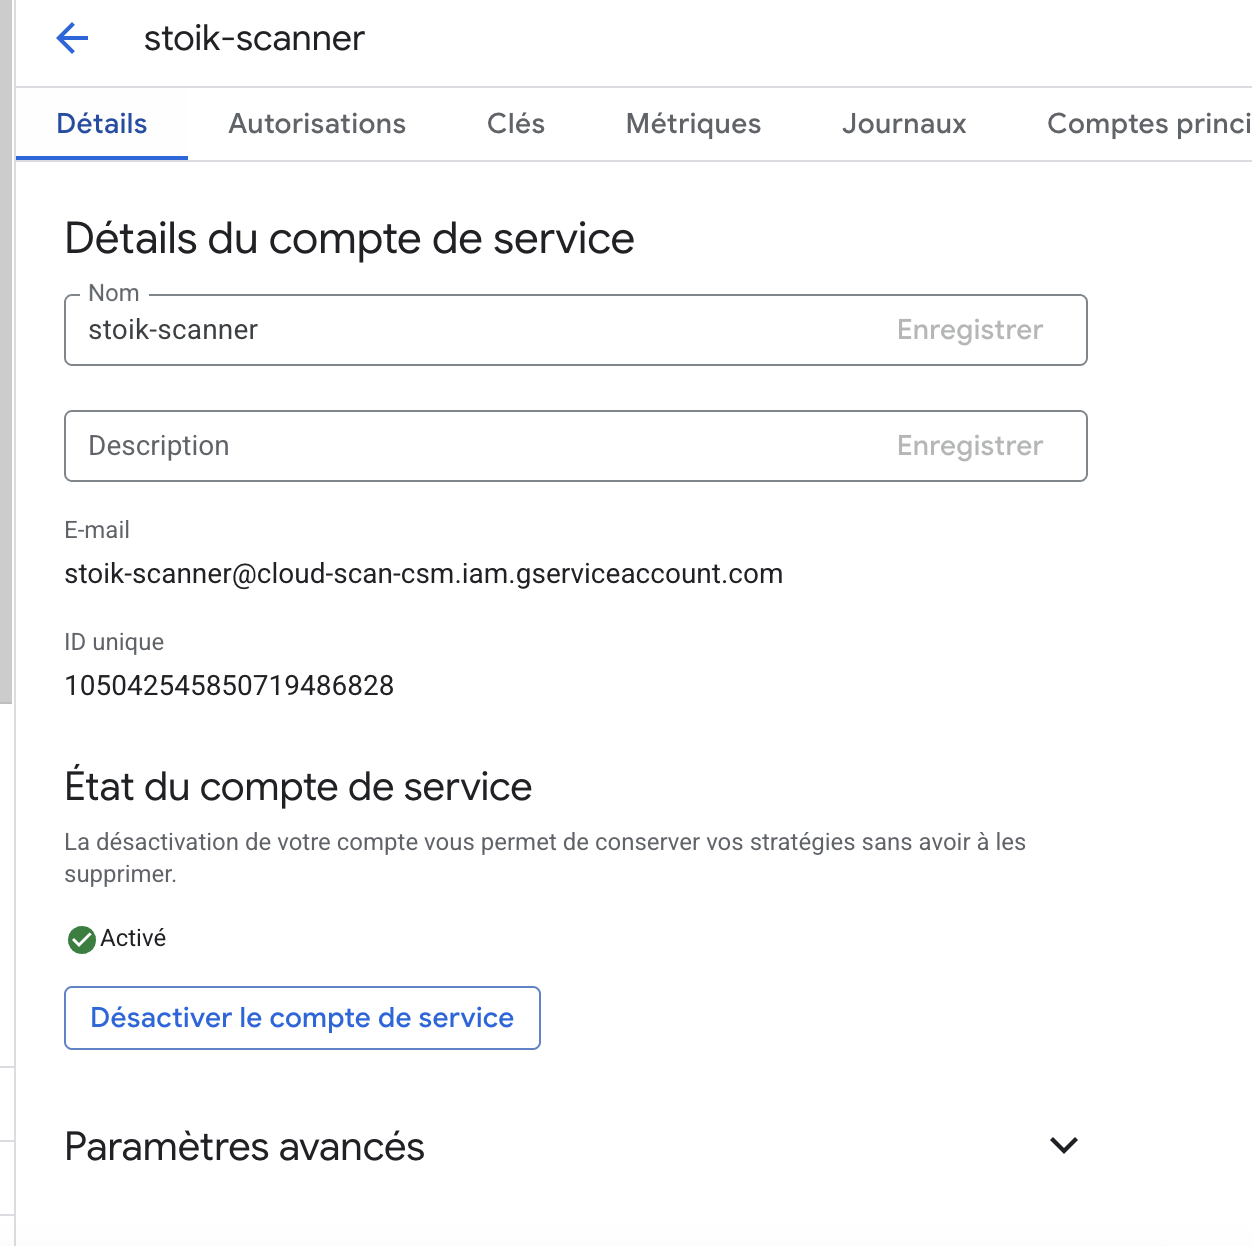
### Fournissez l’identifiant
1. Cliquez sur `Détails` dans GCP.
2. Copiez l’adresse e-mail du compte de service créé.
{% endstep %}
{% step %}
### Terminer la configuration
1. Collez l’adresse e-mail du compte de service dans le champ `Adresse e-mail du compte de service` dans Stoïk Protect.
2. Cliquez sur `Terminer la configuration`.
{% hint style="info" %}
Actualisez la page Stoïk Protect si nécessaire.
{% endhint %}
{% endstep %}
{% endstepper %}
---
# Agent Instructions: Querying This Documentation
If you need additional information that is not directly available in this page, you can query the documentation dynamically by asking a question.
Perform an HTTP GET request on the current page URL with the `ask` query parameter:
```
GET https://docs.stoik.io/help/help-center-fr/outils-de-prevention/what-is-the-cloud-scan/cloud-scan-setup-gcp.md?ask=
```
The question should be specific, self-contained, and written in natural language.
The response will contain a direct answer to the question and relevant excerpts and sources from the documentation.
Use this mechanism when the answer is not explicitly present in the current page, you need clarification or additional context, or you want to retrieve related documentation sections.