# Configuratie van de Cloud-scan: GCP
{% hint style="warning" %}
Vereisten:
* Een beheerdersaccount is vereist om deze implementatie uit te voeren.
* Een technisch adviseur is vereist voor doorlopend toezicht en het verhelpen van kwetsbaarheden.
{% endhint %}
{% stepper %}
{% step %}
### Selecteer Google Cloud Platform
Ga naar `Cloud Scan` > `Instellingen`, klik op `Nieuwe provider`, en selecteer `Google Cloud Platform`.
{% endstep %}
{% step %}
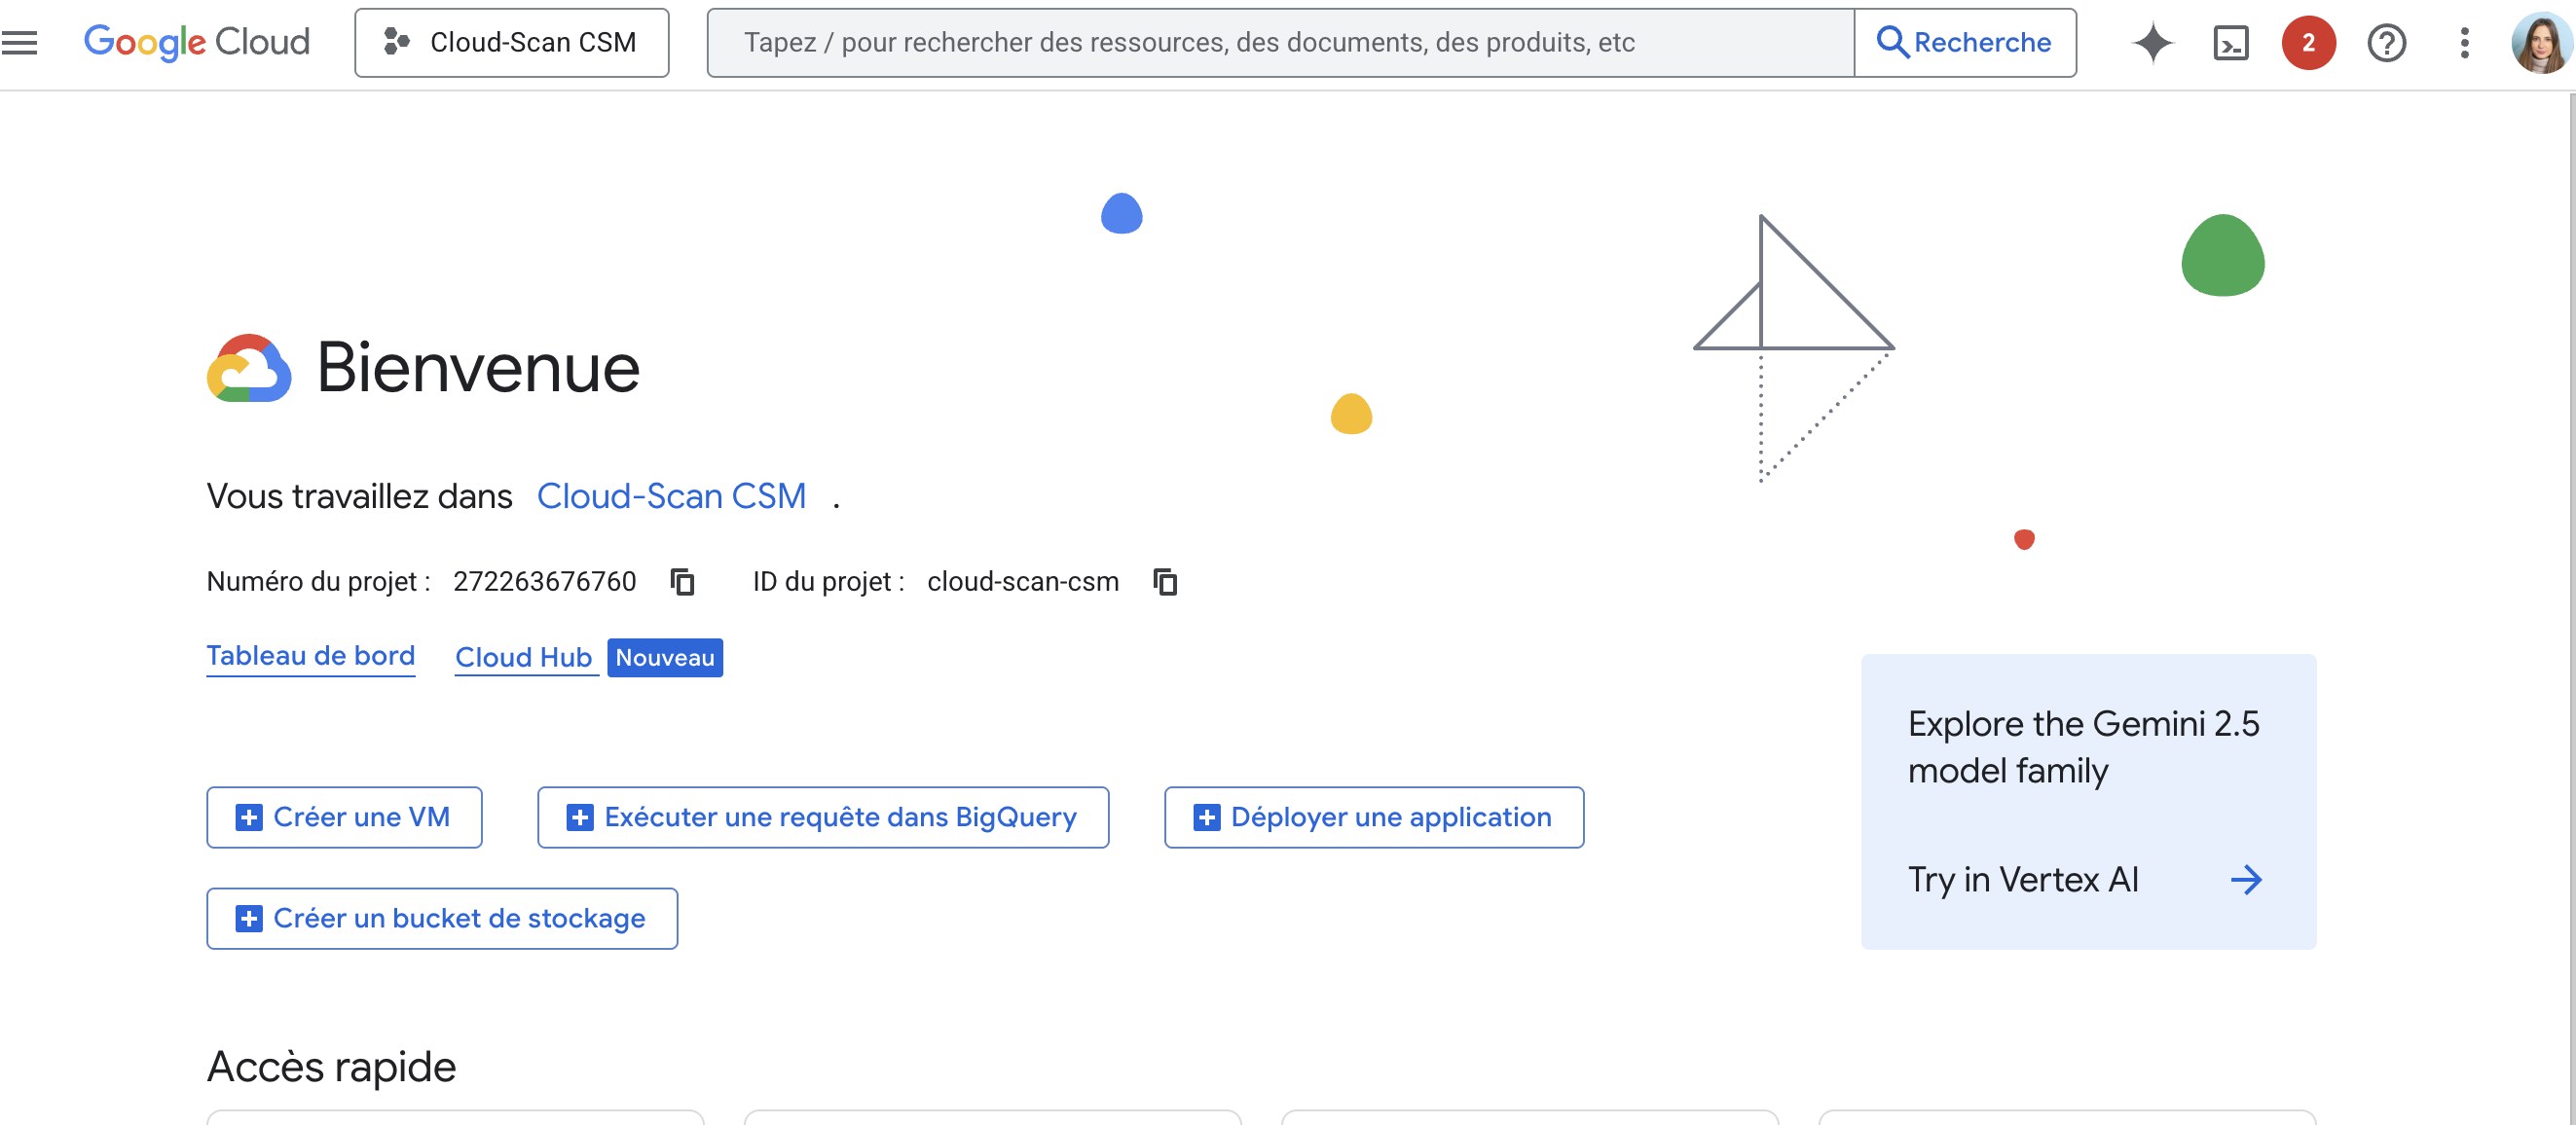
### Ga naar uw Cloud Console
Ga naar het [Google Cloud Console](https://console.cloud.google.com/) en meld u aan met uw beheerdersaccount.
{% endstep %}
{% step %}
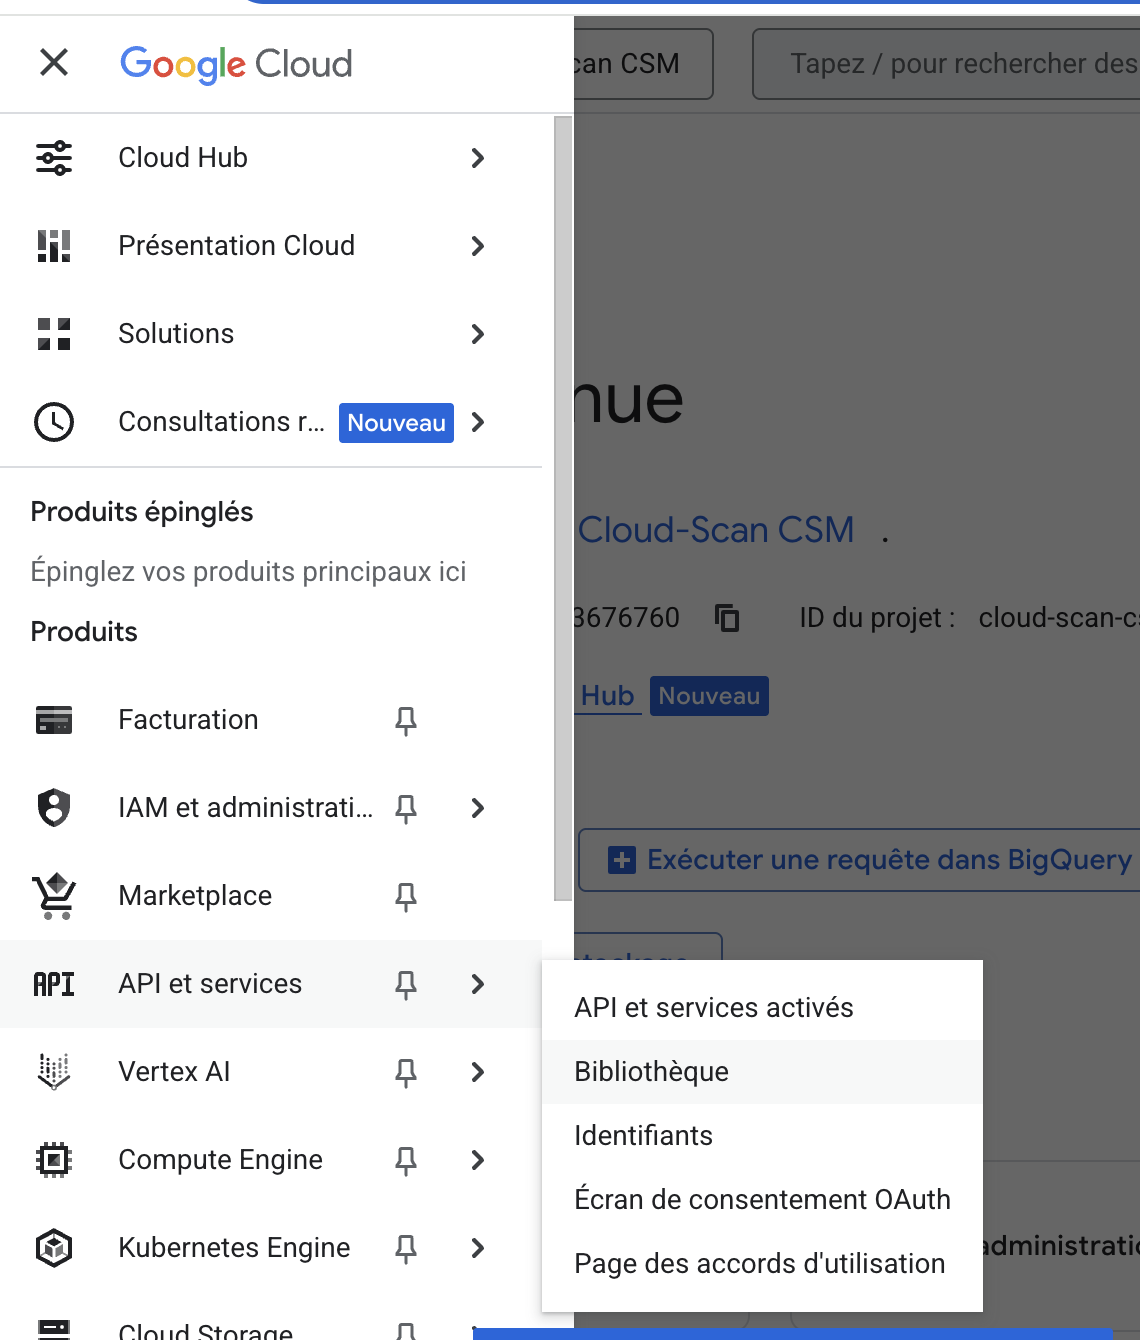
### Schakel de Cloud Resource Manager API in
1. Ga naar `API's en services` > `Bibliotheek` in het menu aan de linkerkant.
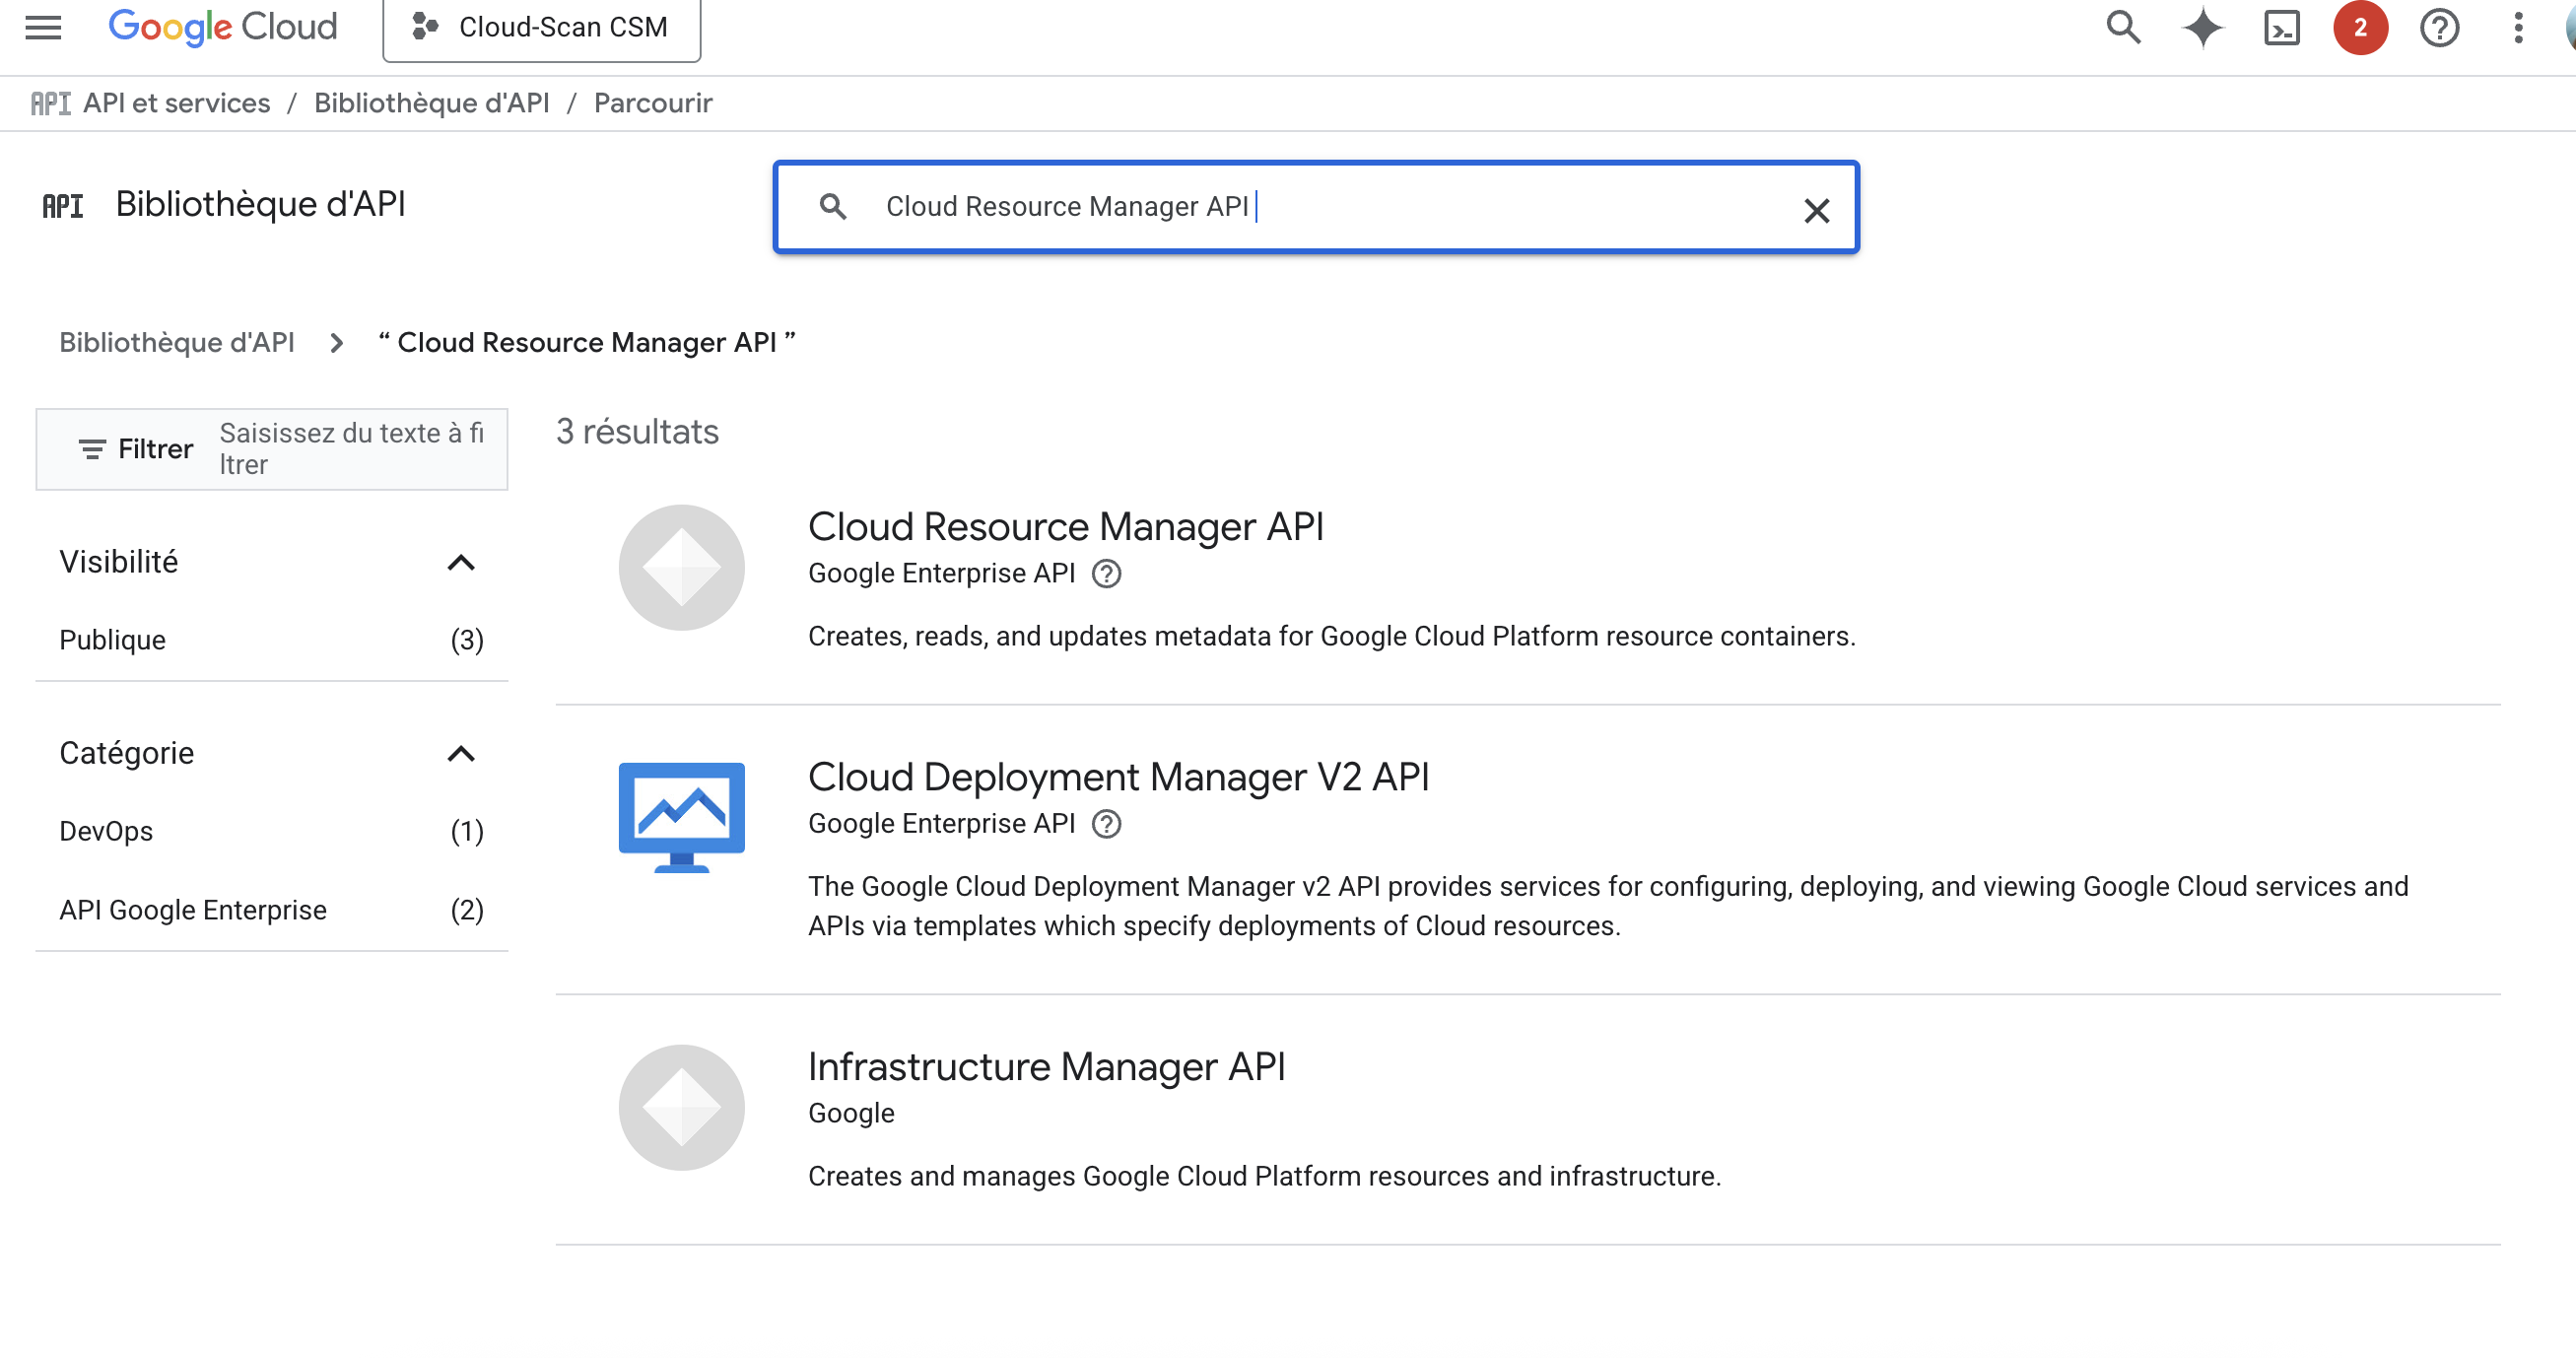
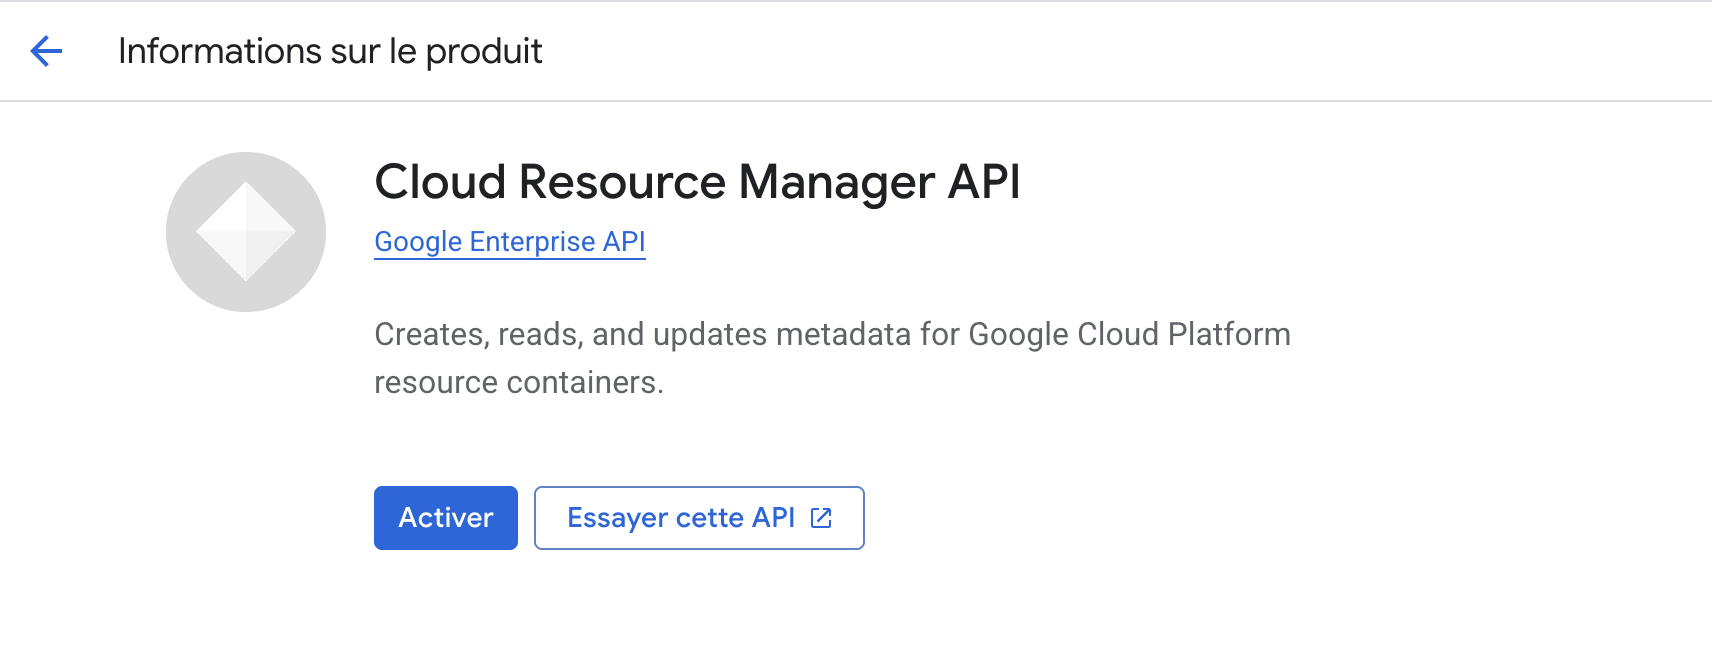
2. Zoek naar `Cloud Resource Manager API` en klik erop.
3. Klik op `Schakel`.
{% endstep %}
{% step %}
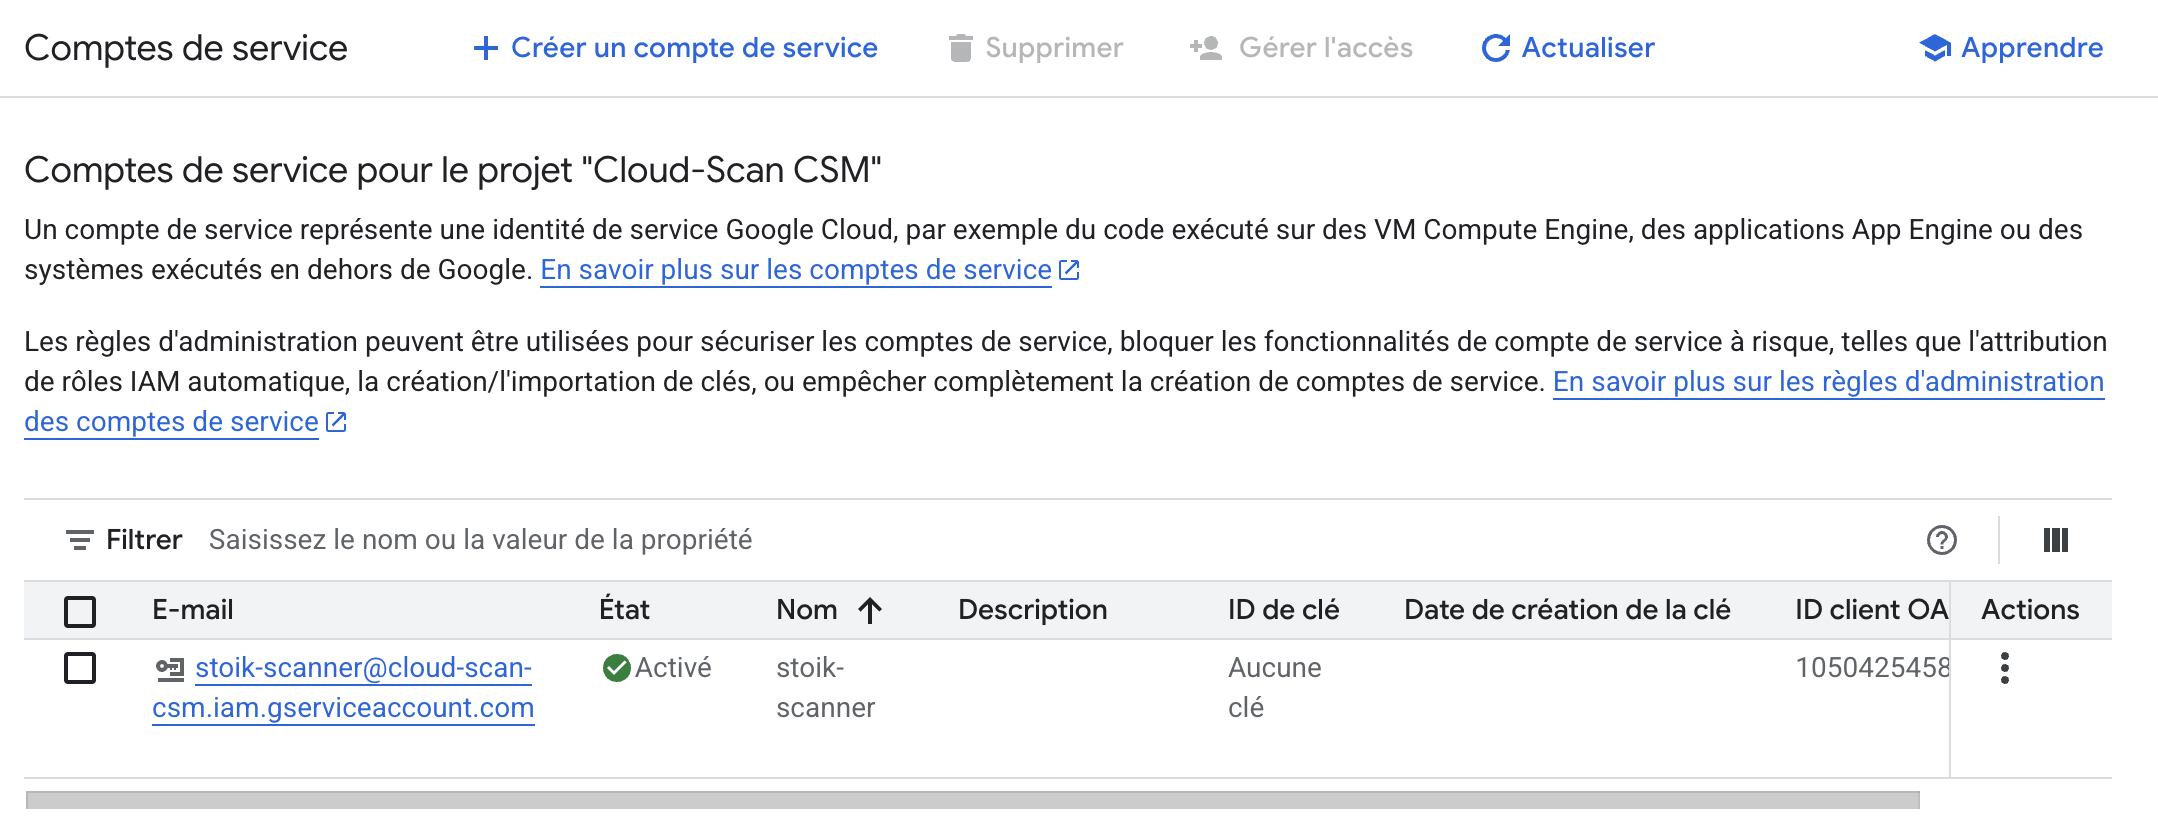
### Maak een serviceaccount aan
#### Maak het account aan
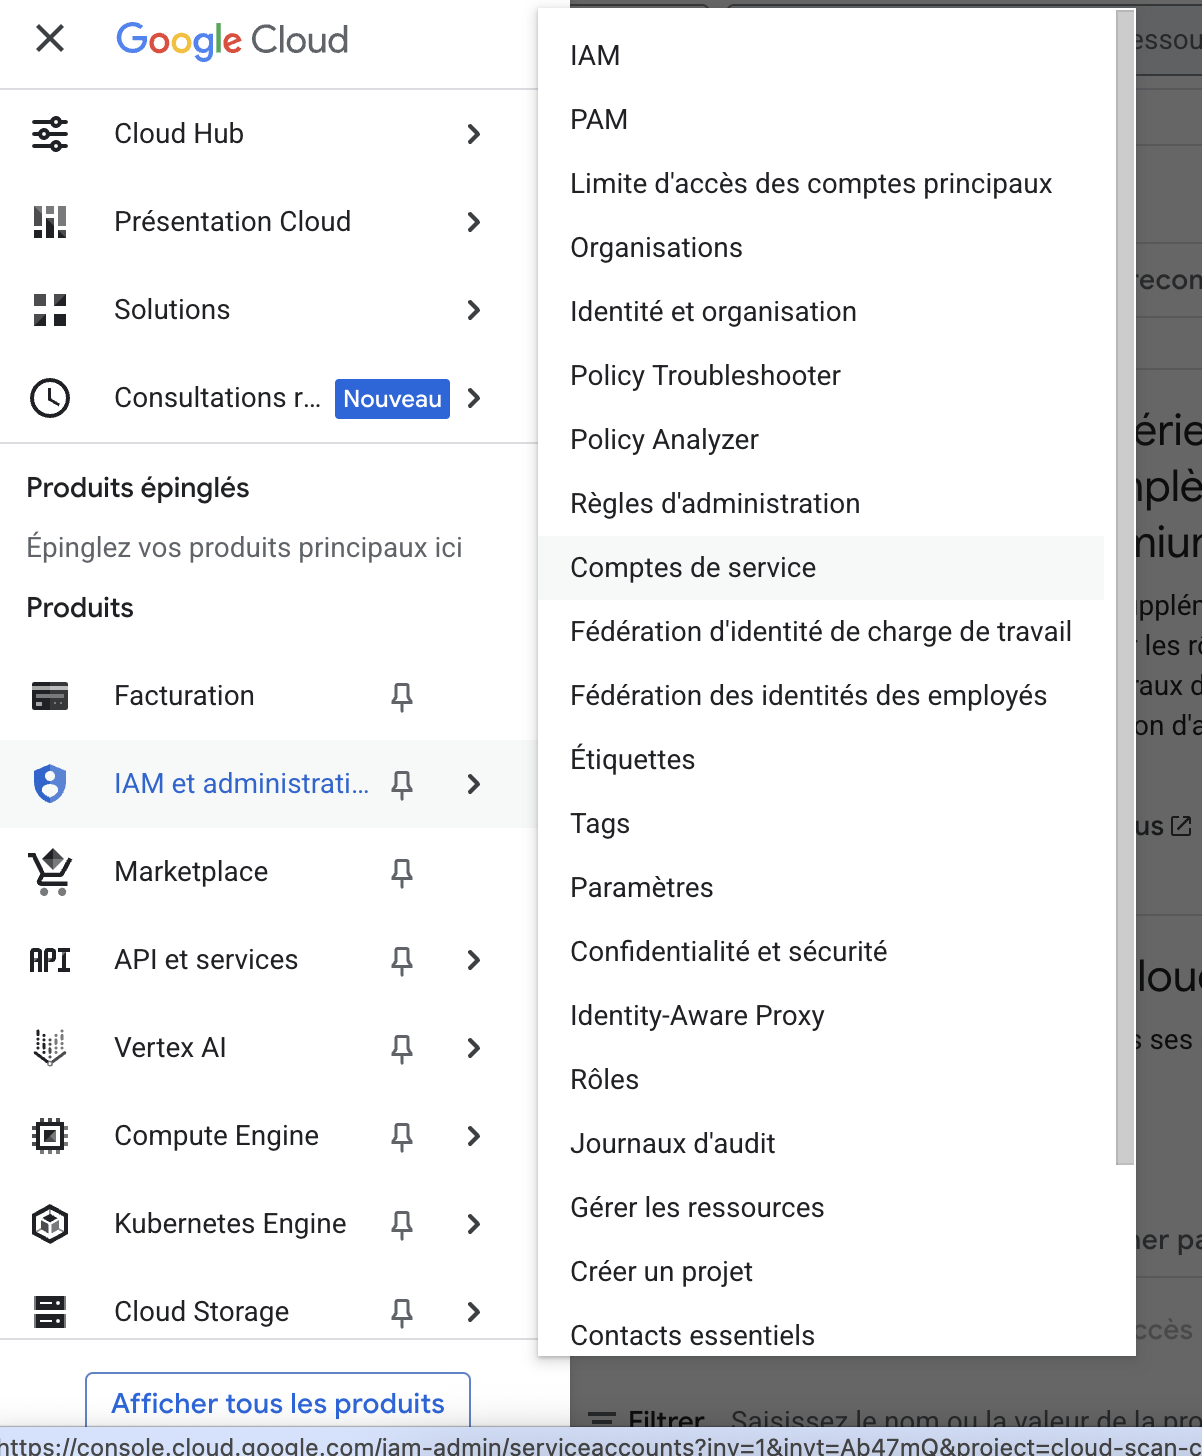
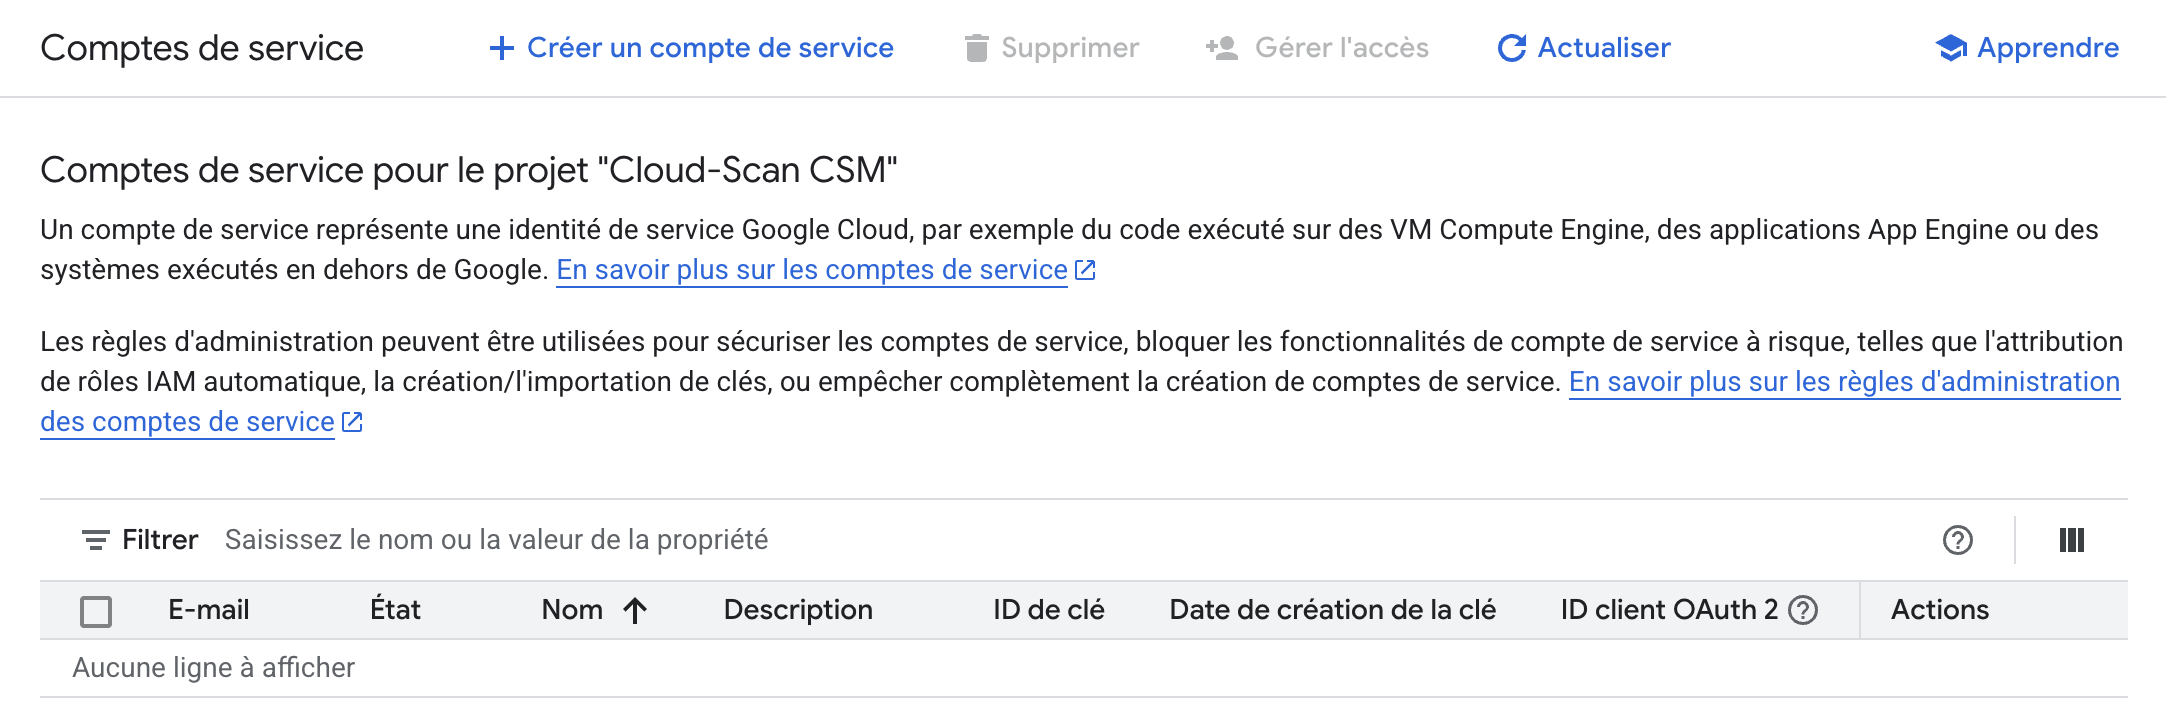
1. Ga naar `IAM & Beheer` > `Serviceaccounts` in het menu aan de linkerkant.
2. Klik op `Serviceaccount aanmaken`.
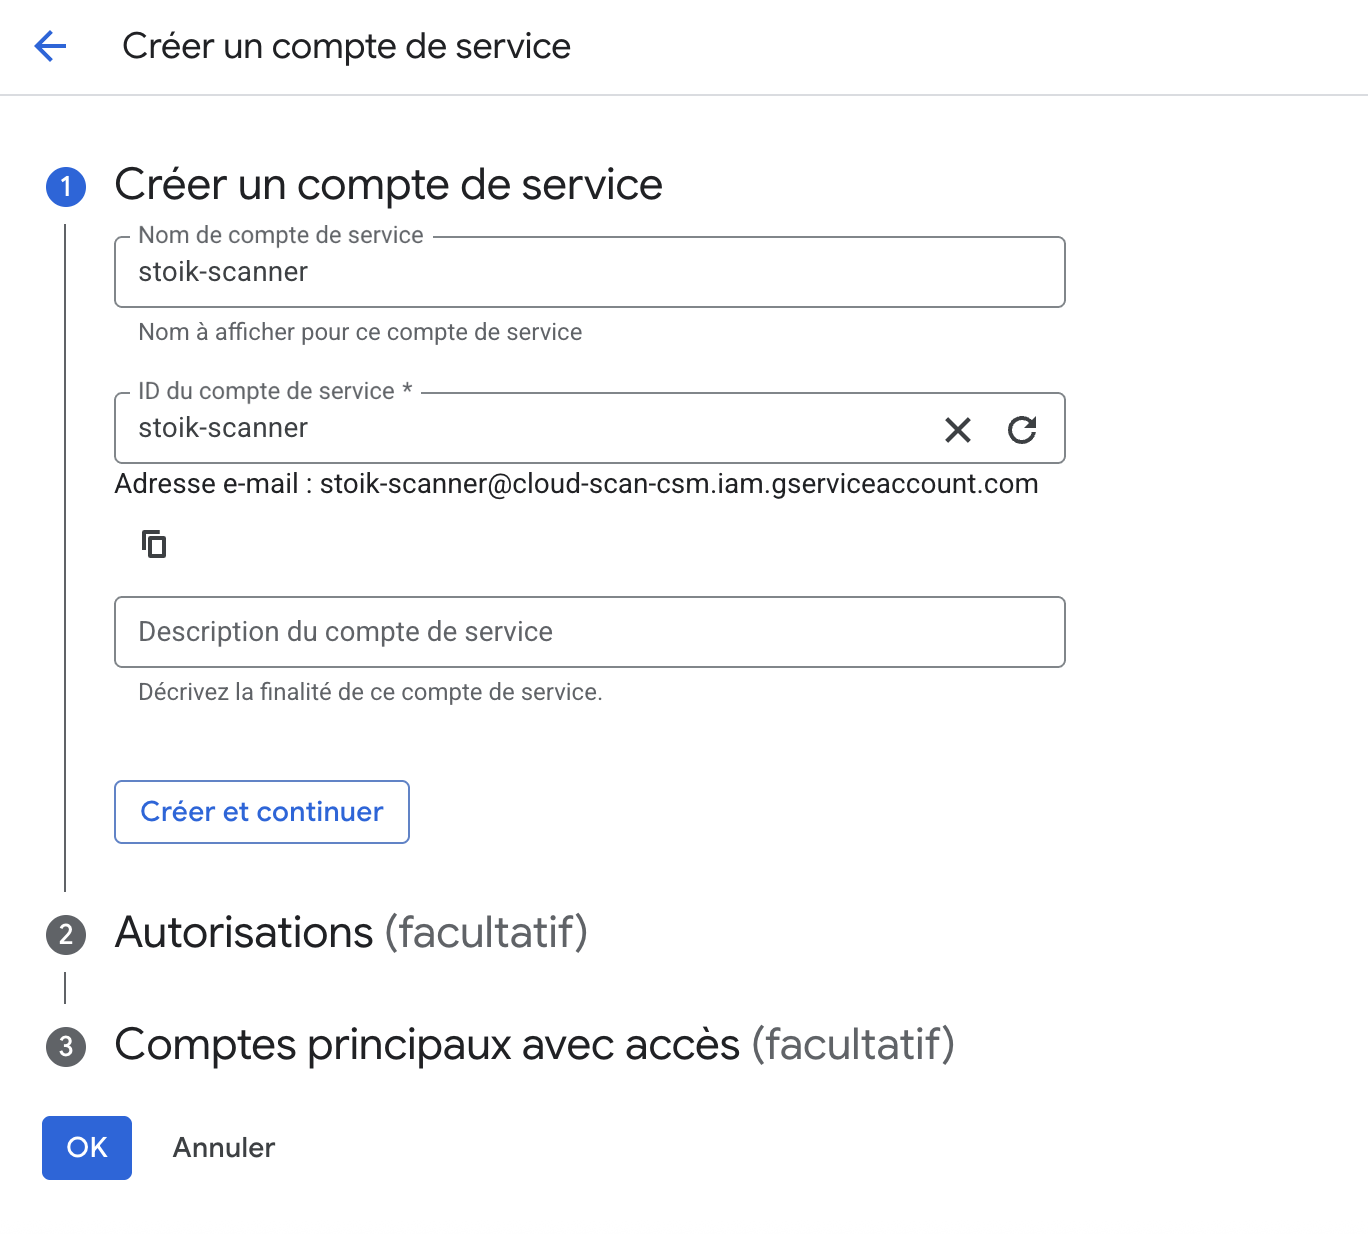
3. Voer in `stoik-scanner` als naam van het serviceaccount en klik vervolgens op `Maken en doorgaan`.
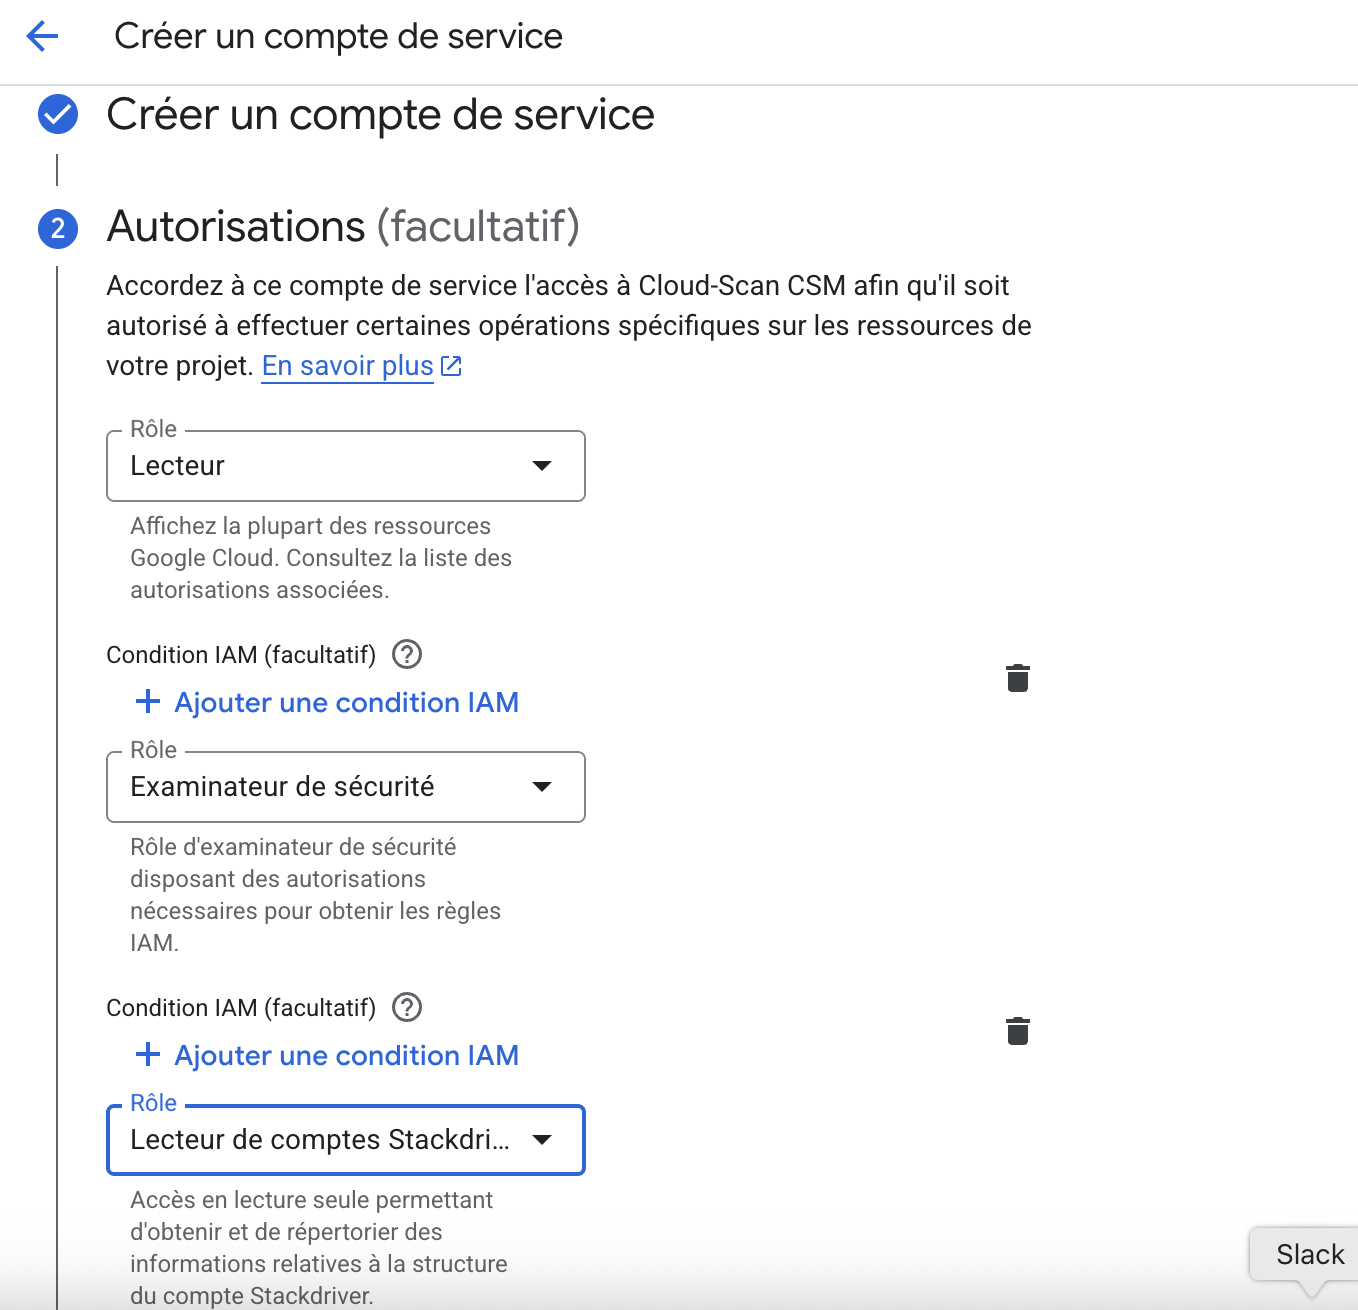
#### Rollen toewijzen
1. Voeg de volgende 3 rollen toe: `Viewer`, `Beveiligingsbeoordelaar`, `Stackdriver-accountviewer`.
2. Laat stap 3 leeg en klik op `Gereed`.
{% endstep %}
{% step %}
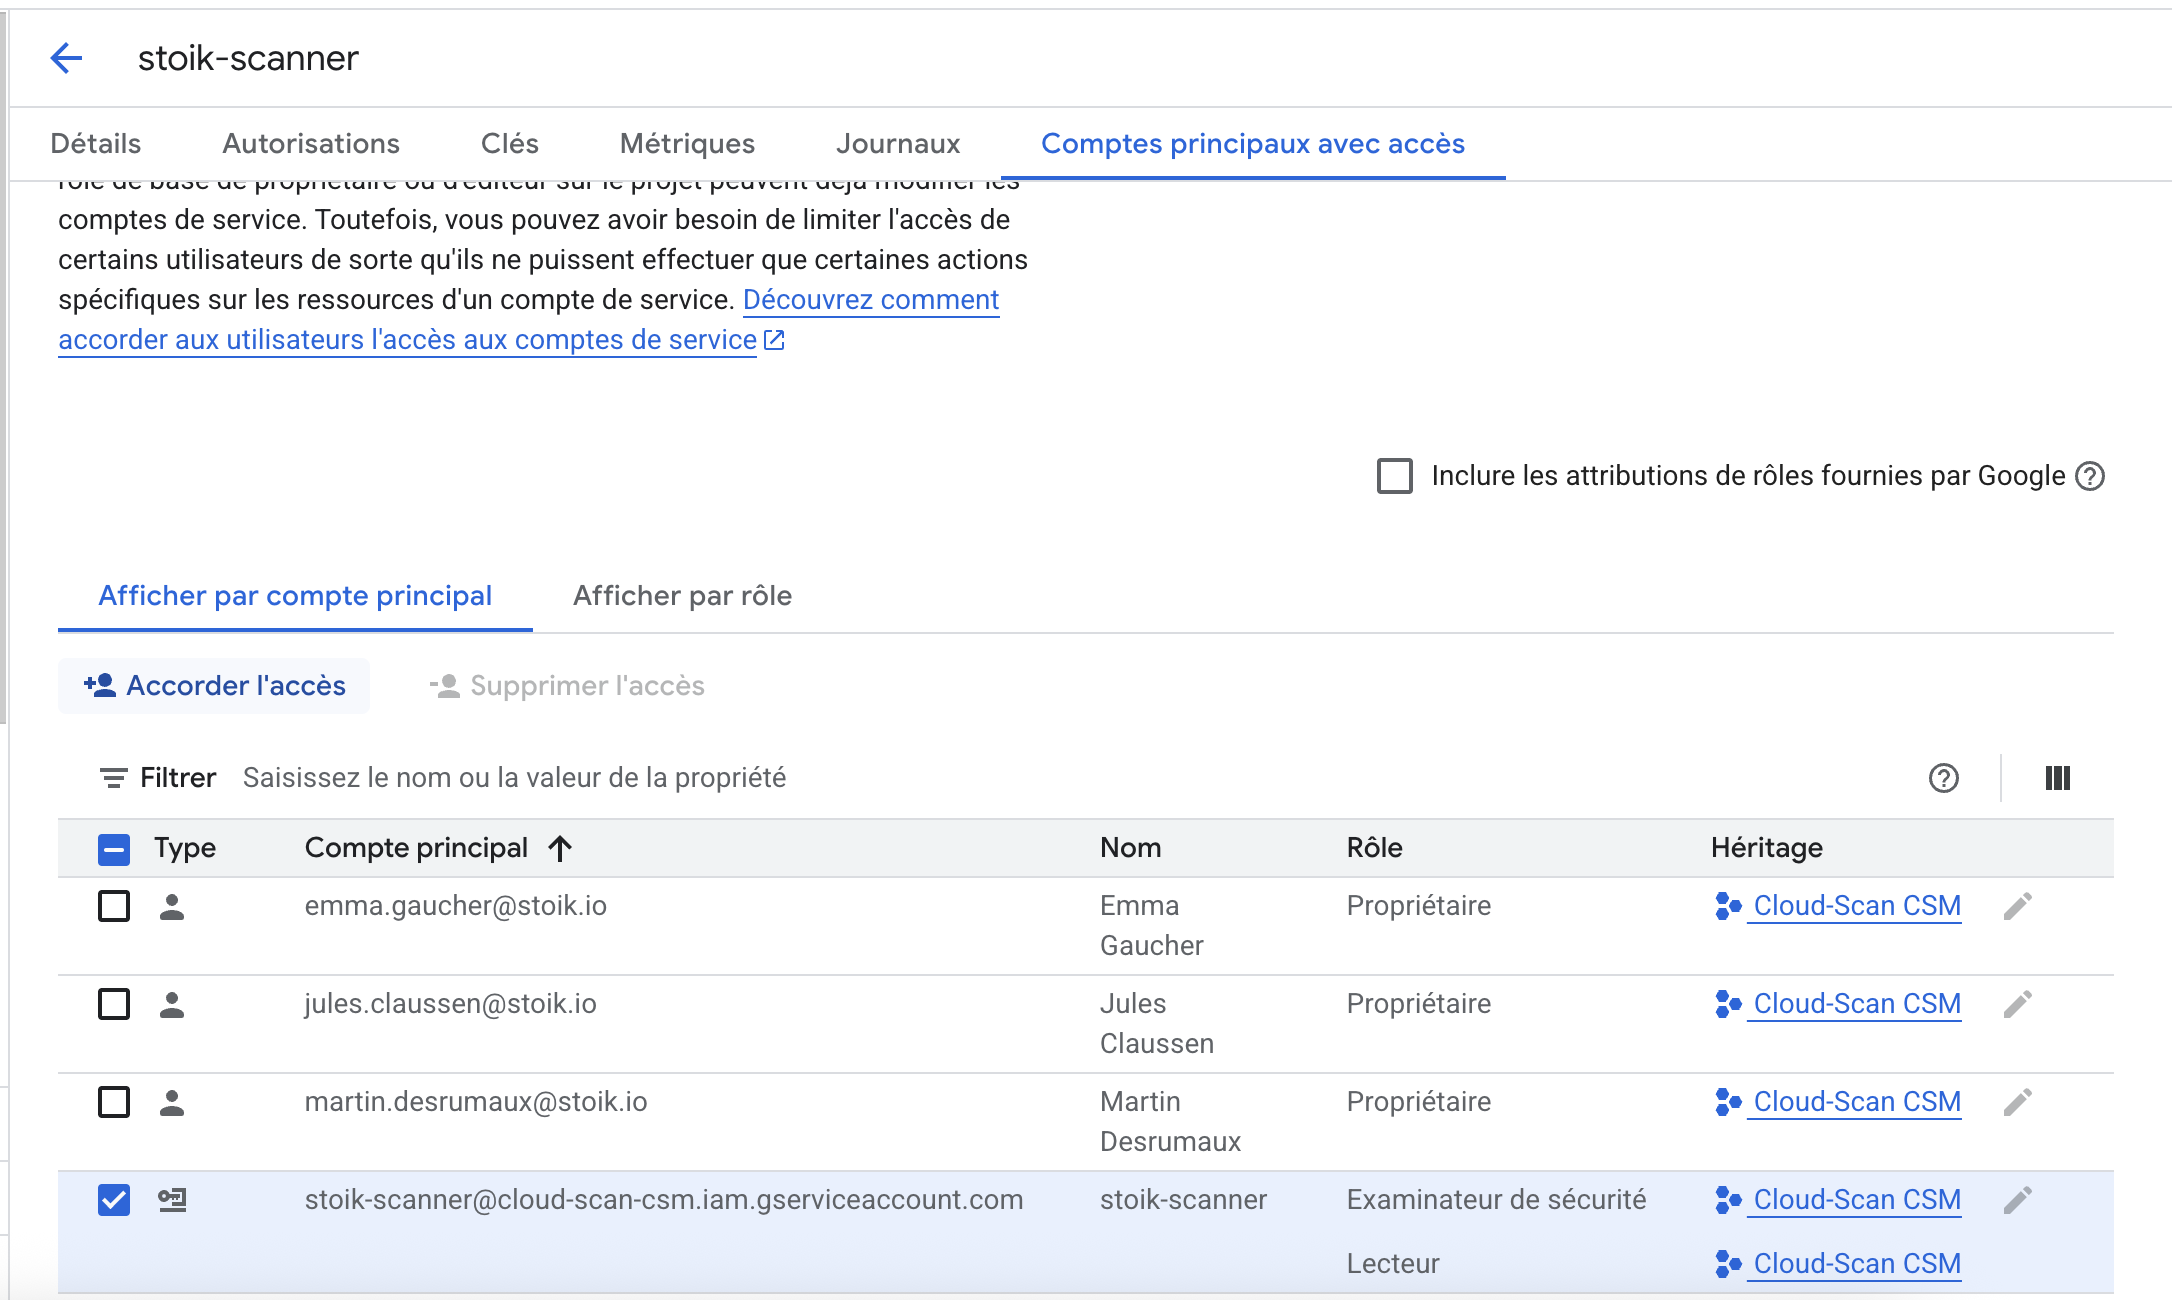
### Autoriseer het serviceaccount
#### Open het serviceaccount
1. Klik op het serviceaccount dat u zojuist hebt gemaakt en klik vervolgens op `Principals met toegang`.
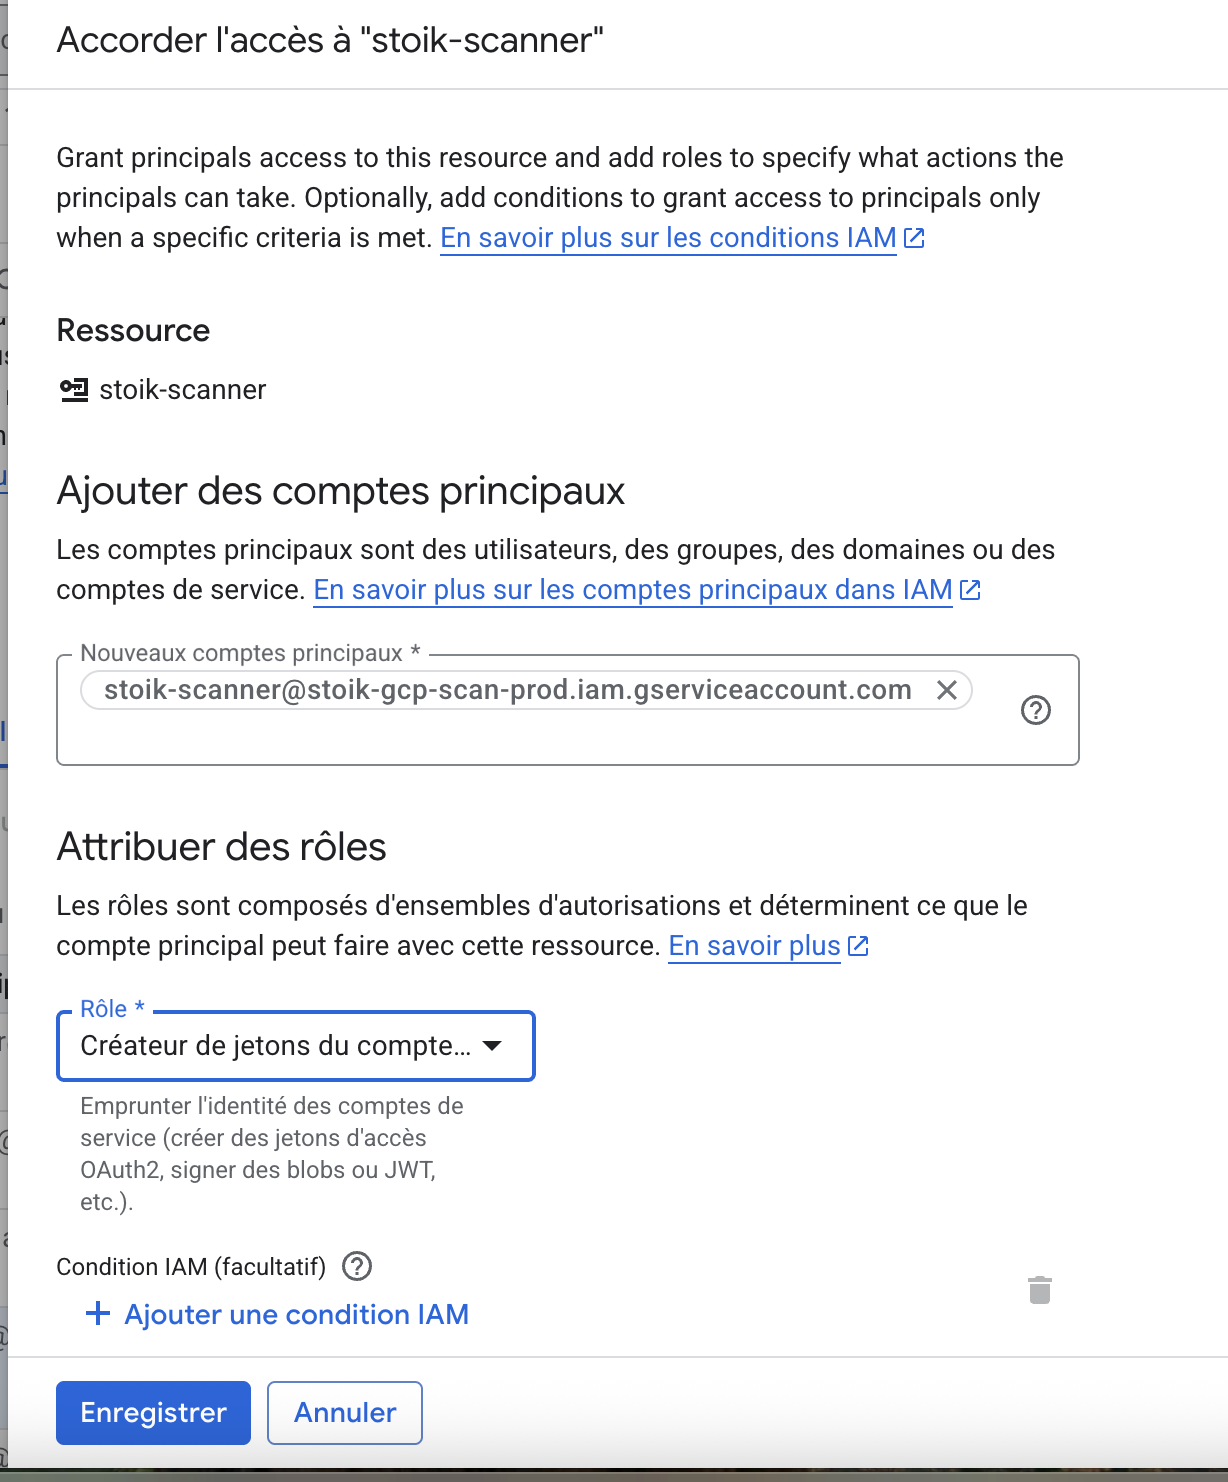
#### Toegang verlenen
1. Selecteer uw serviceaccount en klik op `Toegang verlenen`.
2. Voer in `stoik-scanner@stoik-gcp-scan-prod.iam.gserviceaccount.com` in de `Nieuwe principals` veld in.
3. Wijs de `Service Account Token Creator` rol toe en klik vervolgens op `Opslaan`.
{% endstep %}
{% step %}
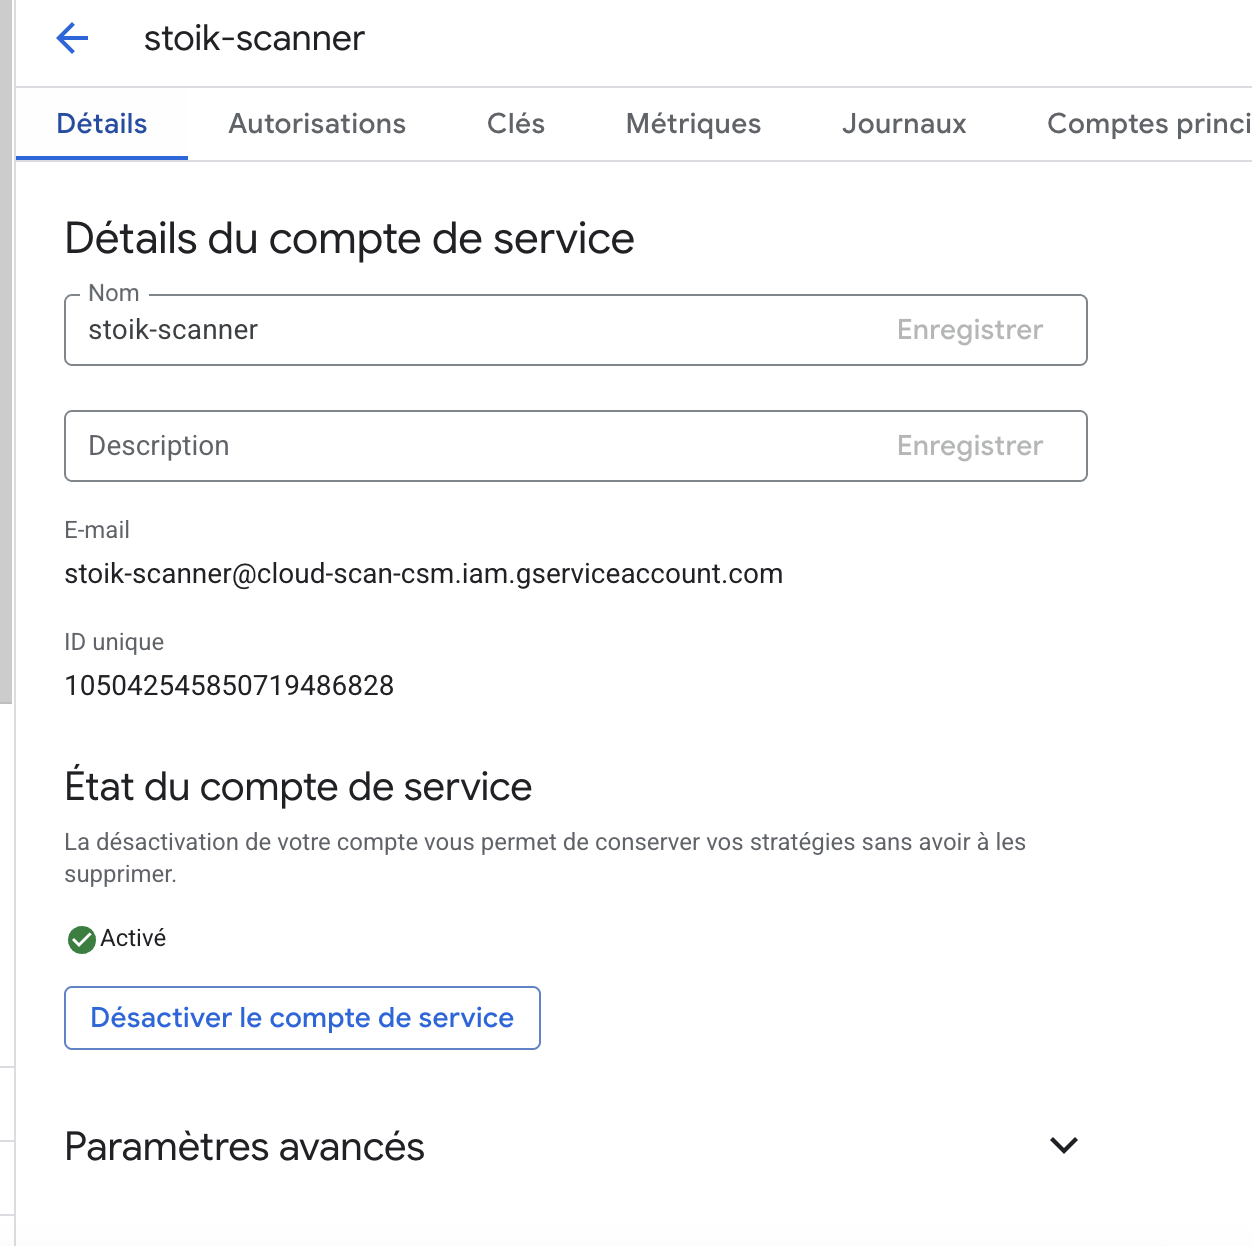
### Geef de identificatie op
1. Klik op `Details` in GCP.
2. Kopieer het e-mailadres van het aangemaakte serviceaccount.
{% endstep %}
{% step %}
### Voltooi de configuratie
1. Plak het e-mailadres van het serviceaccount in het `E-mailadres van serviceaccount` veld in Stoïk Protect.
2. Klik op `Voltooi de configuratie`.
{% hint style="info" %}
Vernieuw de Stoïk Protect-pagina indien nodig.
{% endhint %}
{% endstep %}
{% endstepper %}
---
# Agent Instructions: Querying This Documentation
If you need additional information that is not directly available in this page, you can query the documentation dynamically by asking a question.
Perform an HTTP GET request on the current page URL with the `ask` query parameter:
```
GET https://docs.stoik.io/help/help-nl/preventietools/what-is-the-cloud-scan/cloud-scan-setup-gcp.md?ask=
```
The question should be specific, self-contained, and written in natural language.
The response will contain a direct answer to the question and relevant excerpts and sources from the documentation.
Use this mechanism when the answer is not explicitly present in the current page, you need clarification or additional context, or you want to retrieve related documentation sections.