

Implement certificate-based multi-factor authentication on Fortigate
Prerequisites:
Have already deployed certificates to your users via ADCS. If not, please follow the instructions in the following article.
Have configured LDAP authentication based on your Active Directory.
Please note that the steps may vary slightly if you are using a FortiManager. In that case, we invite you to contact our experts.
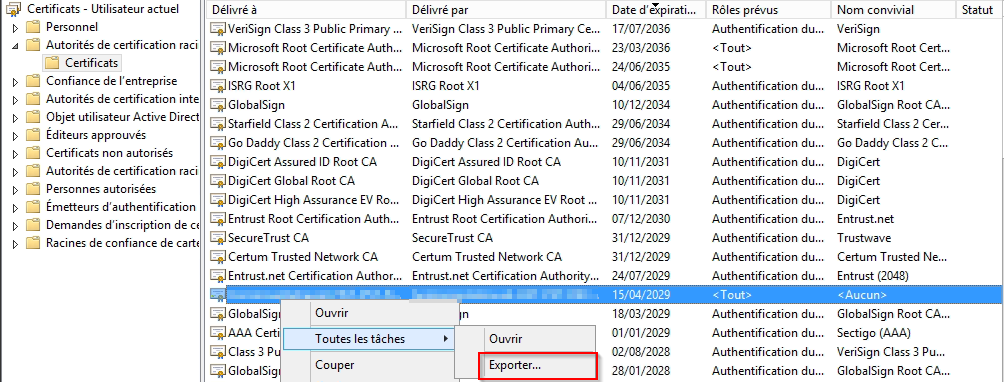
Export the public key of your ADCS root CA certificate from any domain workstation. The certificate must be located in "Certificates - Current User" → "Trusted Root Certification Authorities". Refer to the instructions in the article mentioned at the beginning of the page to find the certificate name.
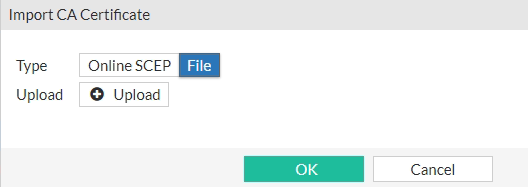
Import your CA root certificate into your FortiGate via "System" → "Certificates" → "Create/Import" → "CA Certificate":

For clarity, we recommend renaming the imported certificate (by default named Ca_Cert_X where X is a number) to a more meaningful name. To do so, open the FortiGate command line interface and enter the following commands:
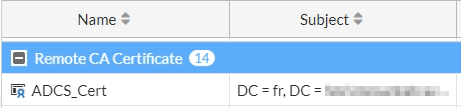
The certificate should then appear under its new name.
You must now configure a user peer using the following commands.
For FortiGate versions earlier than 7.X.X:
Remember to replace XXXXX with the name of the LDAP configuration present in your FortiGate. It can be found under "User & Authentication" → "LDAP Servers":
For FortiGate versions 7.X.X and later:
Remember to replace XXXXX with the name of the LDAP configuration present in your FortiGate. It can be found under "User & Authentication" → "LDAP Servers":
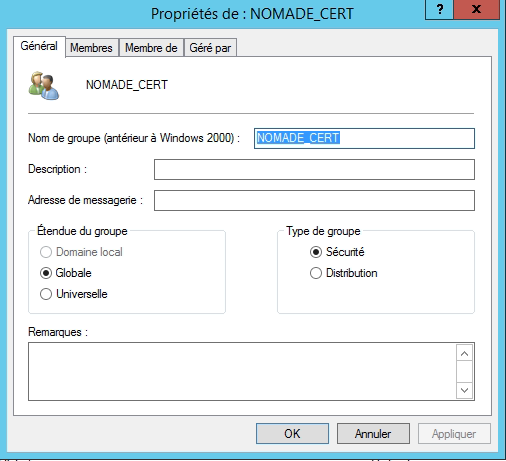
To facilitate MFA deployment among your employees, we recommend creating a new Active Directory group. This will allow you to gradually migrate users from the "VPN without certificate" group to the "VPN with certificate" group. Create this new group in your Active Directory domain using the "Active Directory Users and Computers" tool. In the example below, we named it "NOMADE_CERT":

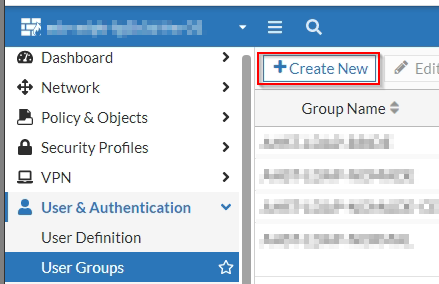
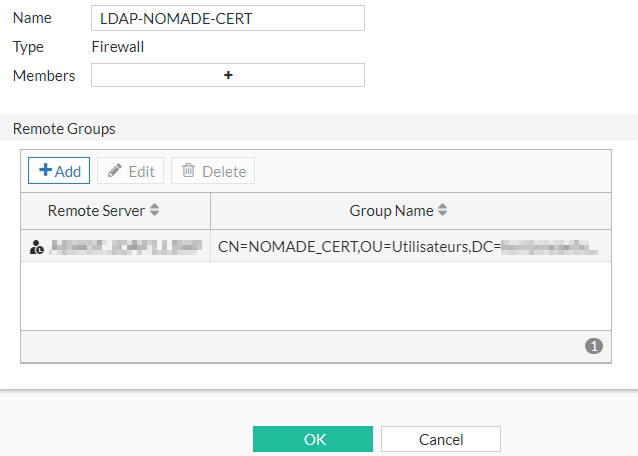
Return to your VPN administration interface and add a new "User Group" under "User & Authentication" → "User Groups". Configure this User Group with your LDAP connection (Remote Server) and the AD group (Group Name) you just created:
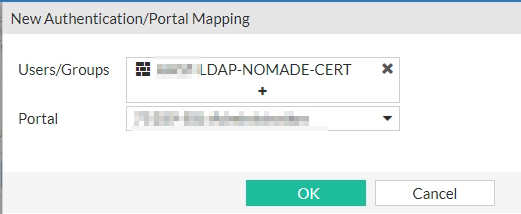
Then go to the "SSL-VPN Settings" page and map this new User Group to your VPN portal:
Open the FortiGate CLI again and enter the following command:
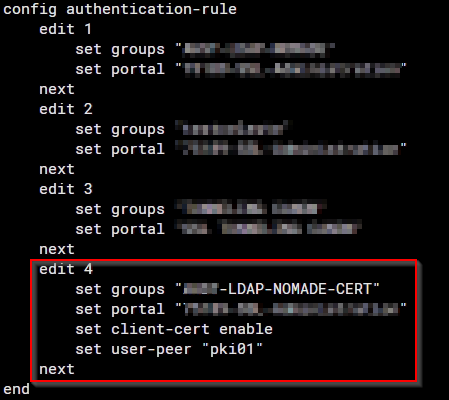
The list of existing mappings should then be displayed, as in the example below:
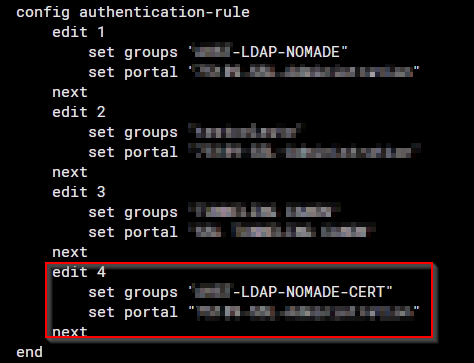
You must now identify the newly created mapping. In this example, it is number 4, associated with the group "NOMADE-CERT". Enter the following commands (replace the number 4 with the one corresponding to your new mapping):
You should then see the updated list of mappings:
Users in the AD domain who belong to the "NOMADE-CERT" group must now have a valid user certificate in order to connect to the VPN.
You can then test your new certificate-based connection by modifying the configuration of a FortiClient installed on a domain-joined workstation:
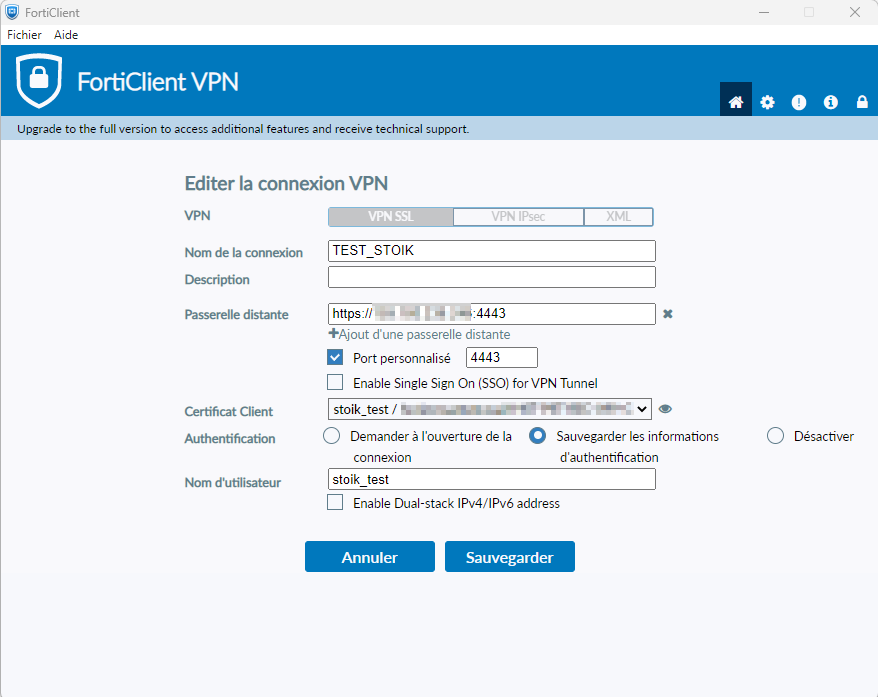
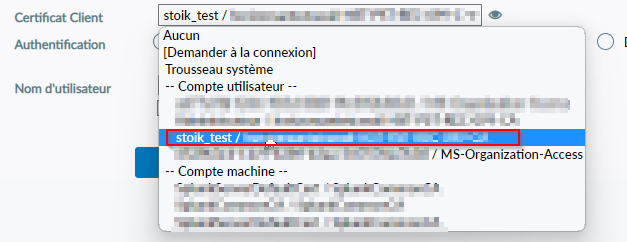
Select the certificate associated with your user (here "stoik_test") in the "Client Certificate" field:
Troubleshooting authentication issues:
The following commands will allow you to view debug logs for LDAP and authentication processes in general (the commands must be entered in the FortiGate CLI, and the session must remain open):
If the above commands do not help identify the issue (incorrect information in the certificate, LDAP server unreachable, etc.), it may be useful to enable SSL VPN debug logging:
To limit the amount of displayed logs, replace XXX.XXX.XXX.XXX above with the source IP address initiating the VPN connection.
Once debugging is complete, you must disable debug mode:
Please note that this procedure can be somewhat complex, as it requires being simultaneously connected to the FortiGate and able to launch FortiClient. Do not hesitate to contact our experts if necessary.
Last updated
Was this helpful?